Rolling your first joint can feel awkward, especially when the paper slips, flower falls out, or the tuck refuses to hold. I reviewed guidance from established cannabis education sources to make each step clear.
This guide explains how to roll a joint using a filter, how to shape the paper, and how to pack the open end without blocking airflow.
The method starts with an even grind and a small amount of flower. It then moves through filter placement, filling, shaping, tucking, sealing, and final checks.
I also explain how to roll without a filter, how straight and cone joints differ, and why rolls burn unevenly. The goal is not a perfect-looking result on the first try.
It is a firm, balanced roll that holds together and draws smoothly. Cannabis laws vary, so use this information only where possession is legal.
What You Need to Roll a Joint
A simple setup is enough for a first attempt. Extra tools may improve control, but most of the work can be completed with paper, flower, and a clean surface.
- Cannabis flower: Use legally purchased flower where adult possession is permitted. Remove thick stems before grinding.
- Rolling paper: Standard or one-and-a-quarter papers provide enough space without being difficult to control.
- Grinder: A grinder breaks flower into pieces of a similar size. Clean scissors can serve as an alternative.
- Filter paper: Uncoated filter card helps form a steady mouthpiece. Ready-made tips are also available.
- Flat surface: A tray, plate, book, or clean table catches loose flower and keeps the supplies together.
- Packing tool: A pen end, chopstick, or other slim blunt object can settle the open end without tearing the paper.
How to Roll a Joint
Before you begin, gather the needed materials and follow each step carefully to keep the roll even, secure, and neatly shaped.
Step 1. Prepare the Materials
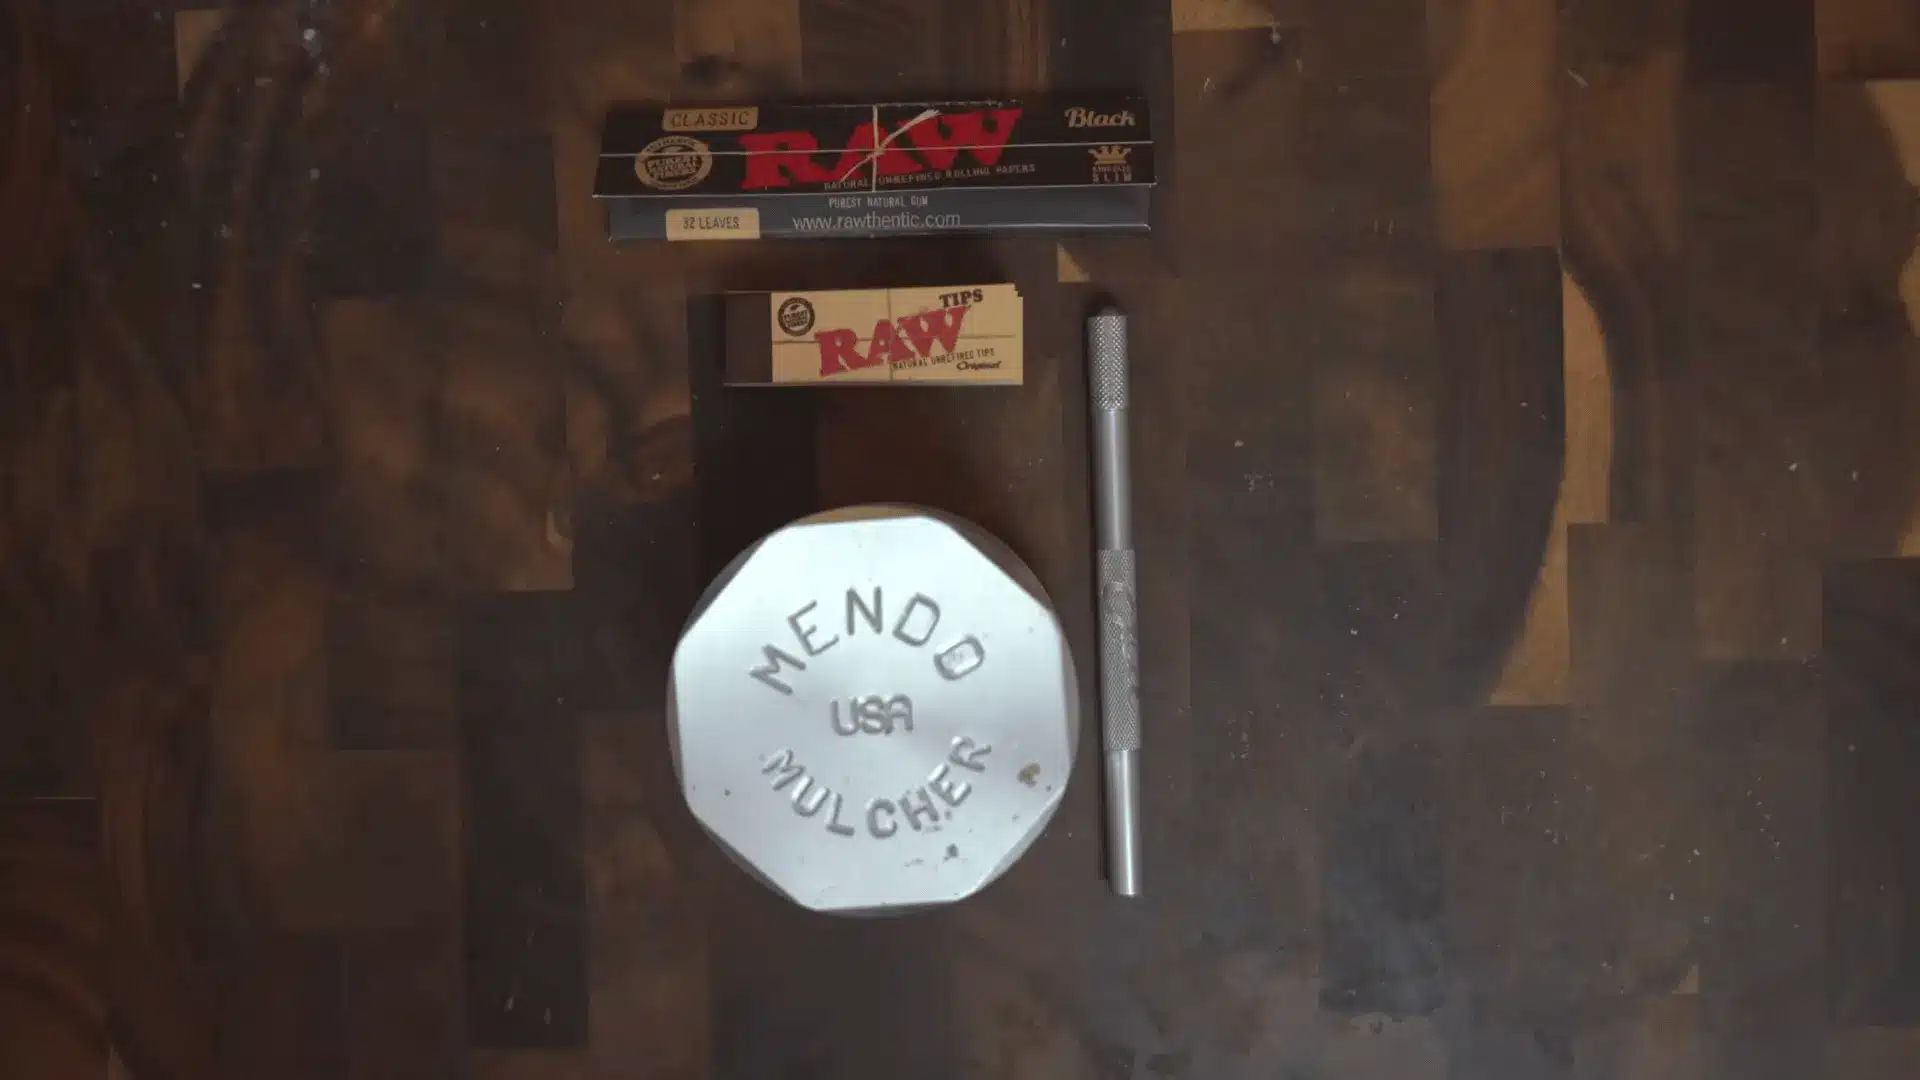
Gather the basic items commonly used for rolling, including rolling paper, a filter tip, a grinder, and a small tool for adjusting the contents.
Beginners may find a larger sheet easier to handle because it provides more room and reduces spills. Keep everything on a clean, flat surface before starting.
Organizing the materials first makes the process smoother and prevents interruptions. Check that the paper is not torn and that the filter material is firm enough to support the finished roll without bending too easily.
Step 2. Create the Filter

A filter gives the roll a firm base and helps it keep a steady shape. It is commonly made from a small strip of card or thick paper folded into a compact form.
The folds create support while the outer section wraps around them to hold everything together. Once shaped, the filter sits at one end of the paper. It should feel secure but not oversized.
A balanced filter makes the roll easier to hold and helps prevent loose material from reaching the mouth during use.
Step 3. Arrange the Contents
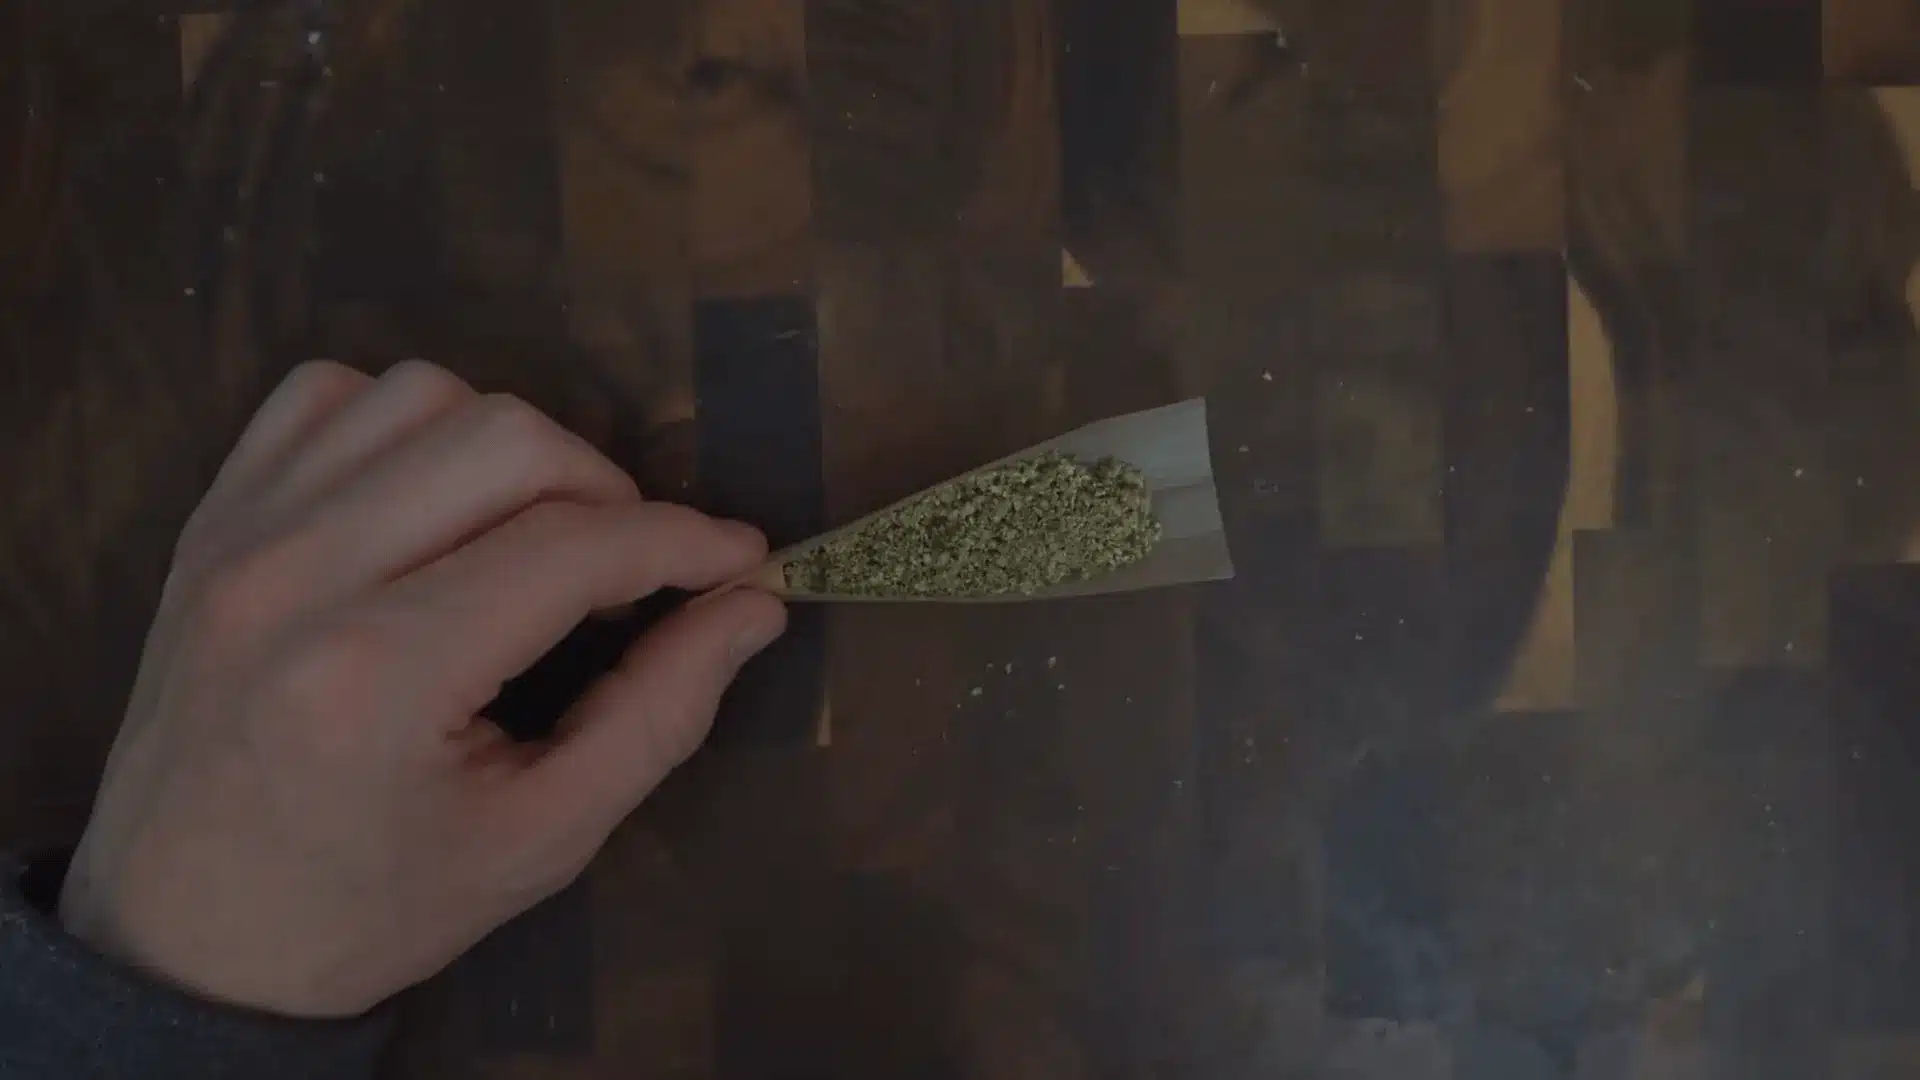
Spread the prepared contents across the paper in a balanced and even line. Keeping the layer consistent from one end to the other helps create a uniform shape.
Avoid placing too much in the center or near the filter, as this can make the roll bulky and harder to close. Gently adjust the amount until it looks even across the full length.
Leave enough space near the paper edges so the contents do not spill while the paper is being shaped, handled, or closed.
Step 4. Shape and Seal
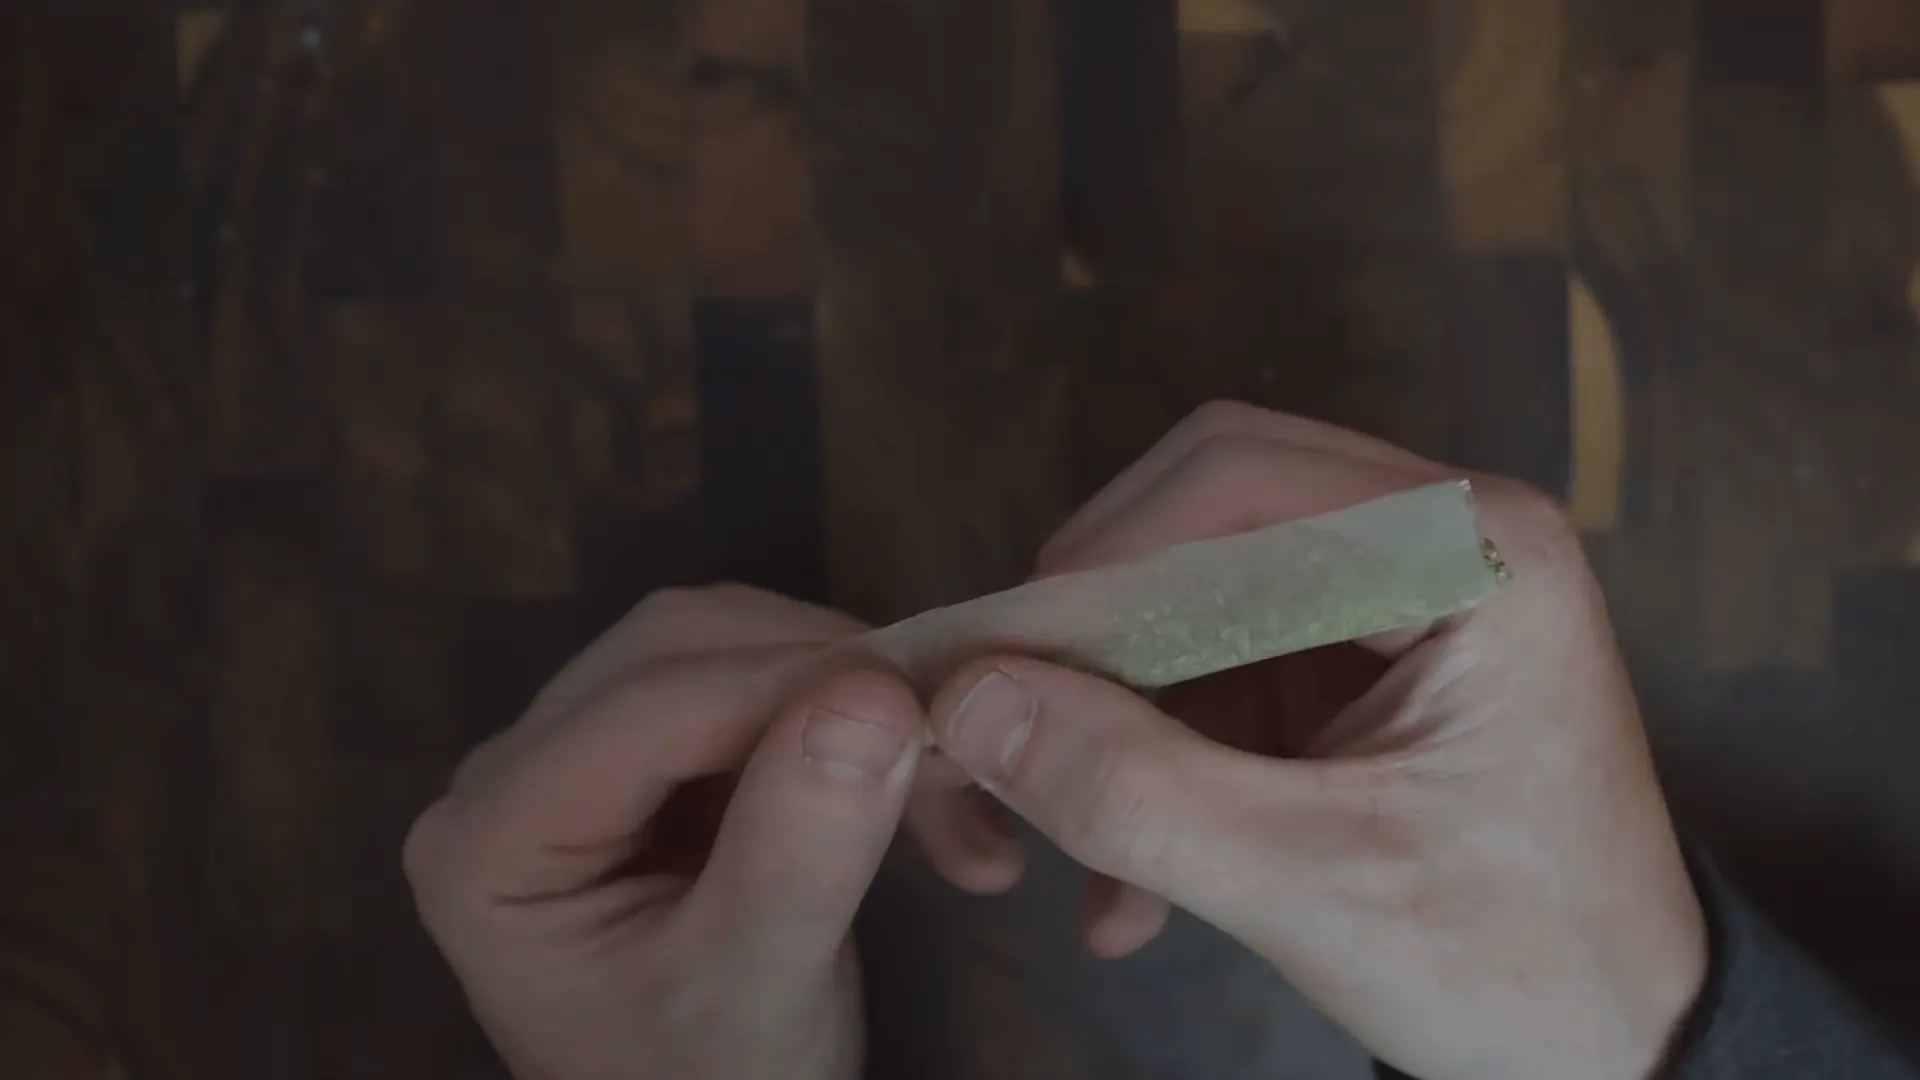
Gently shape the paper around the contents while keeping the filter end steady. The goal is to form an even cylinder without squeezing too tightly or leaving loose sections.
Keep the paper smooth and make sure the lower edge stays aligned as it wraps around the contents. Once the shape feels balanced, close the paper along its adhesive edge.
Press the seam lightly so it stays secure. Avoid pulling too firmly, since excess pressure may tear the paper or create an uneven, tightly packed section.
Step 5. Finish the Roll

Check the finished roll from end to end to make sure the contents are evenly distributed. Use a small tool only to adjust loose areas and create a consistent feel throughout.
The open end can be folded or twisted to keep the contents in place. Any excess paper may be trimmed carefully for a cleaner appearance. The roll should feel firm and balanced rather than overly tight.
Inspect the seam and edges one final time to confirm that the paper remains closed and properly shaped.
Watch this video by Professional Joint Roller for clear instructions:
Filter Tips for Better Joint Rolling
A filter tip supports the mouth end, helps the joint hold its shape, and keeps loose flower away from the mouth. Weedmaps also notes that a tip creates a stable channel for airflow, which can make the roll easier to handle.
The tip should be wide enough to fit snugly inside the paper without stretching it. Place it level with one edge before adding the flower, then begin shaping and tucking from that end.
The filter should feel firm while remaining open through the center. A tip that is too narrow may slide out after sealing.
One that is too wide can loosen the paper around the mouth end, while an overly tight tip may restrict airflow.
How to Roll a Joint Without a Filter
A joint can be rolled without a filter, but the mouth end needs extra care. Leaving a small empty space helps prevent flower from falling out and creates room for a basic mouthpiece.
Step 1. Prepare the Rolling Paper and Material
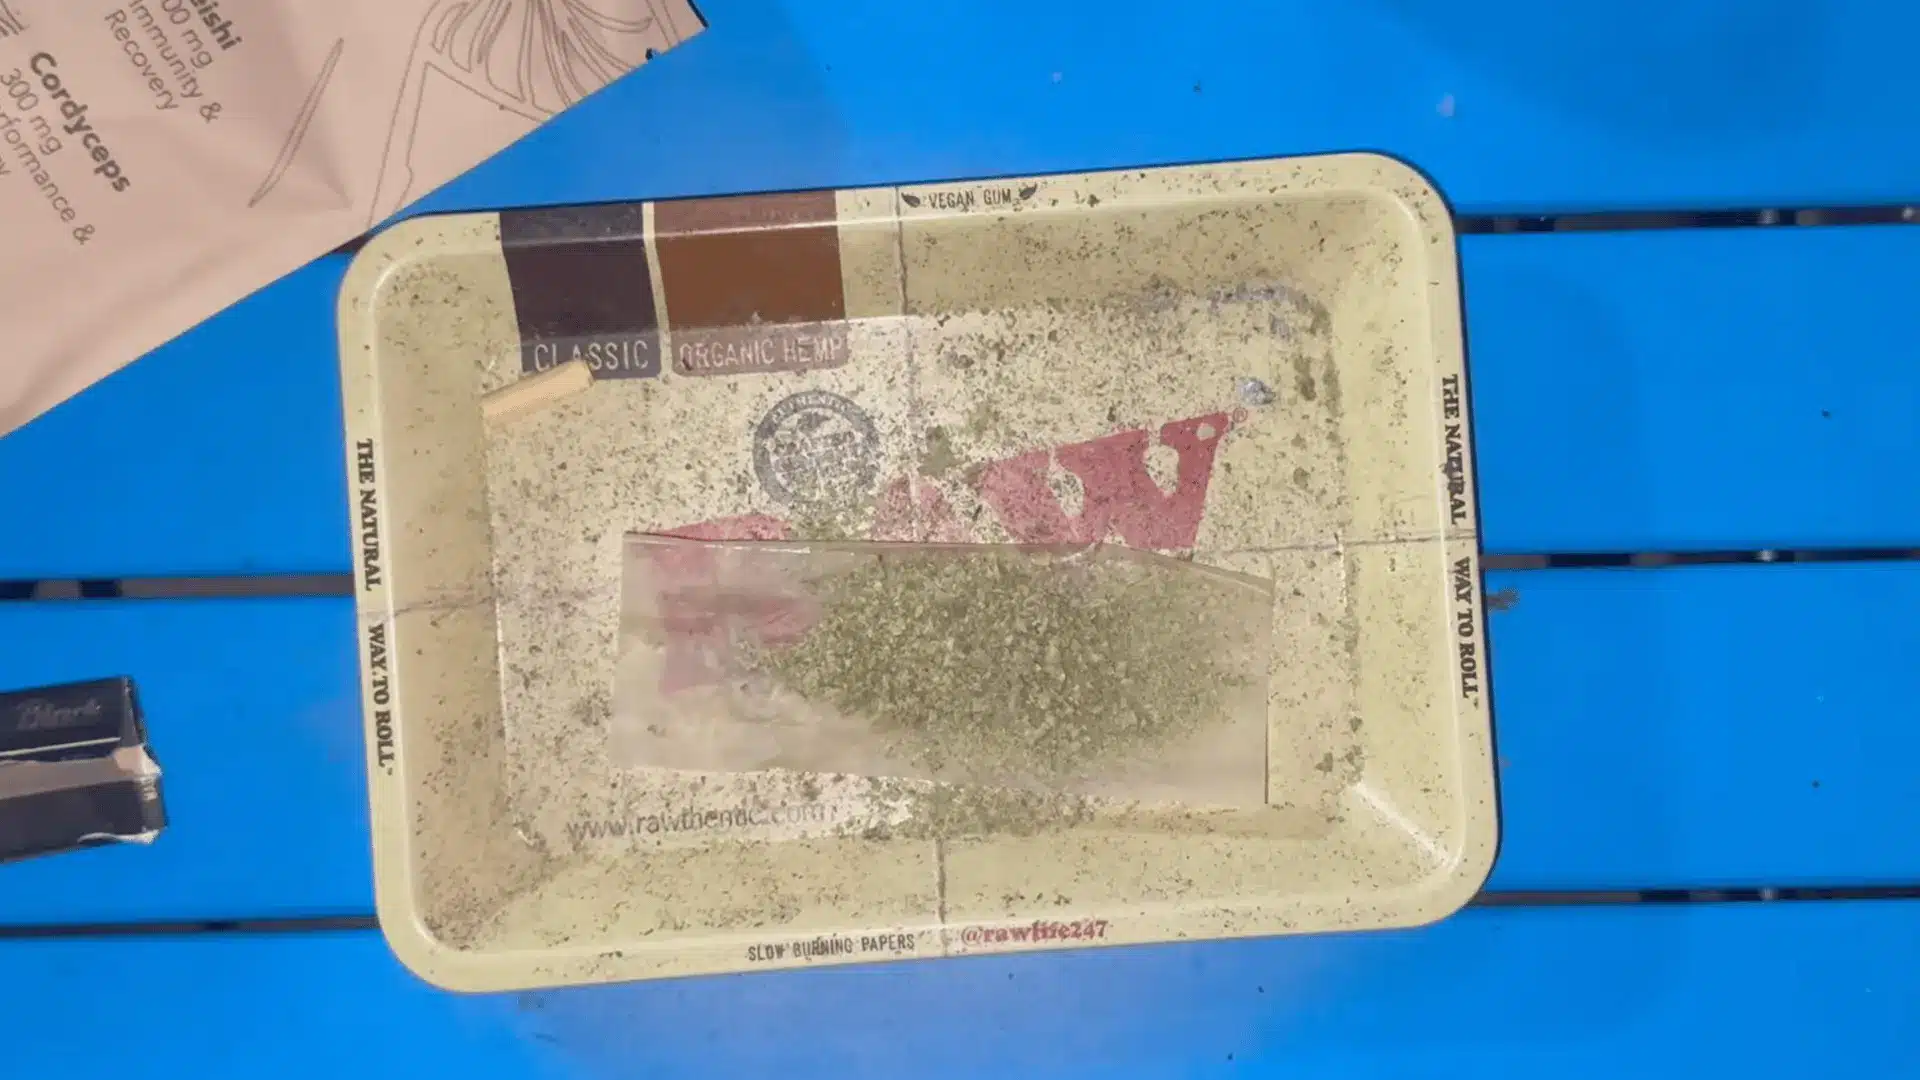
Place the rolling paper on a clean, flat surface and add the prepared material along its center. Avoid adding too much at once, since an overloaded paper can be harder to shape and close.
The amount used will depend on the paper size and personal preference. Keep the material within the paper’s edges so it does not spill while the paper is being handled during the next stage of the process.
Step 2. Shape the Material Evenly
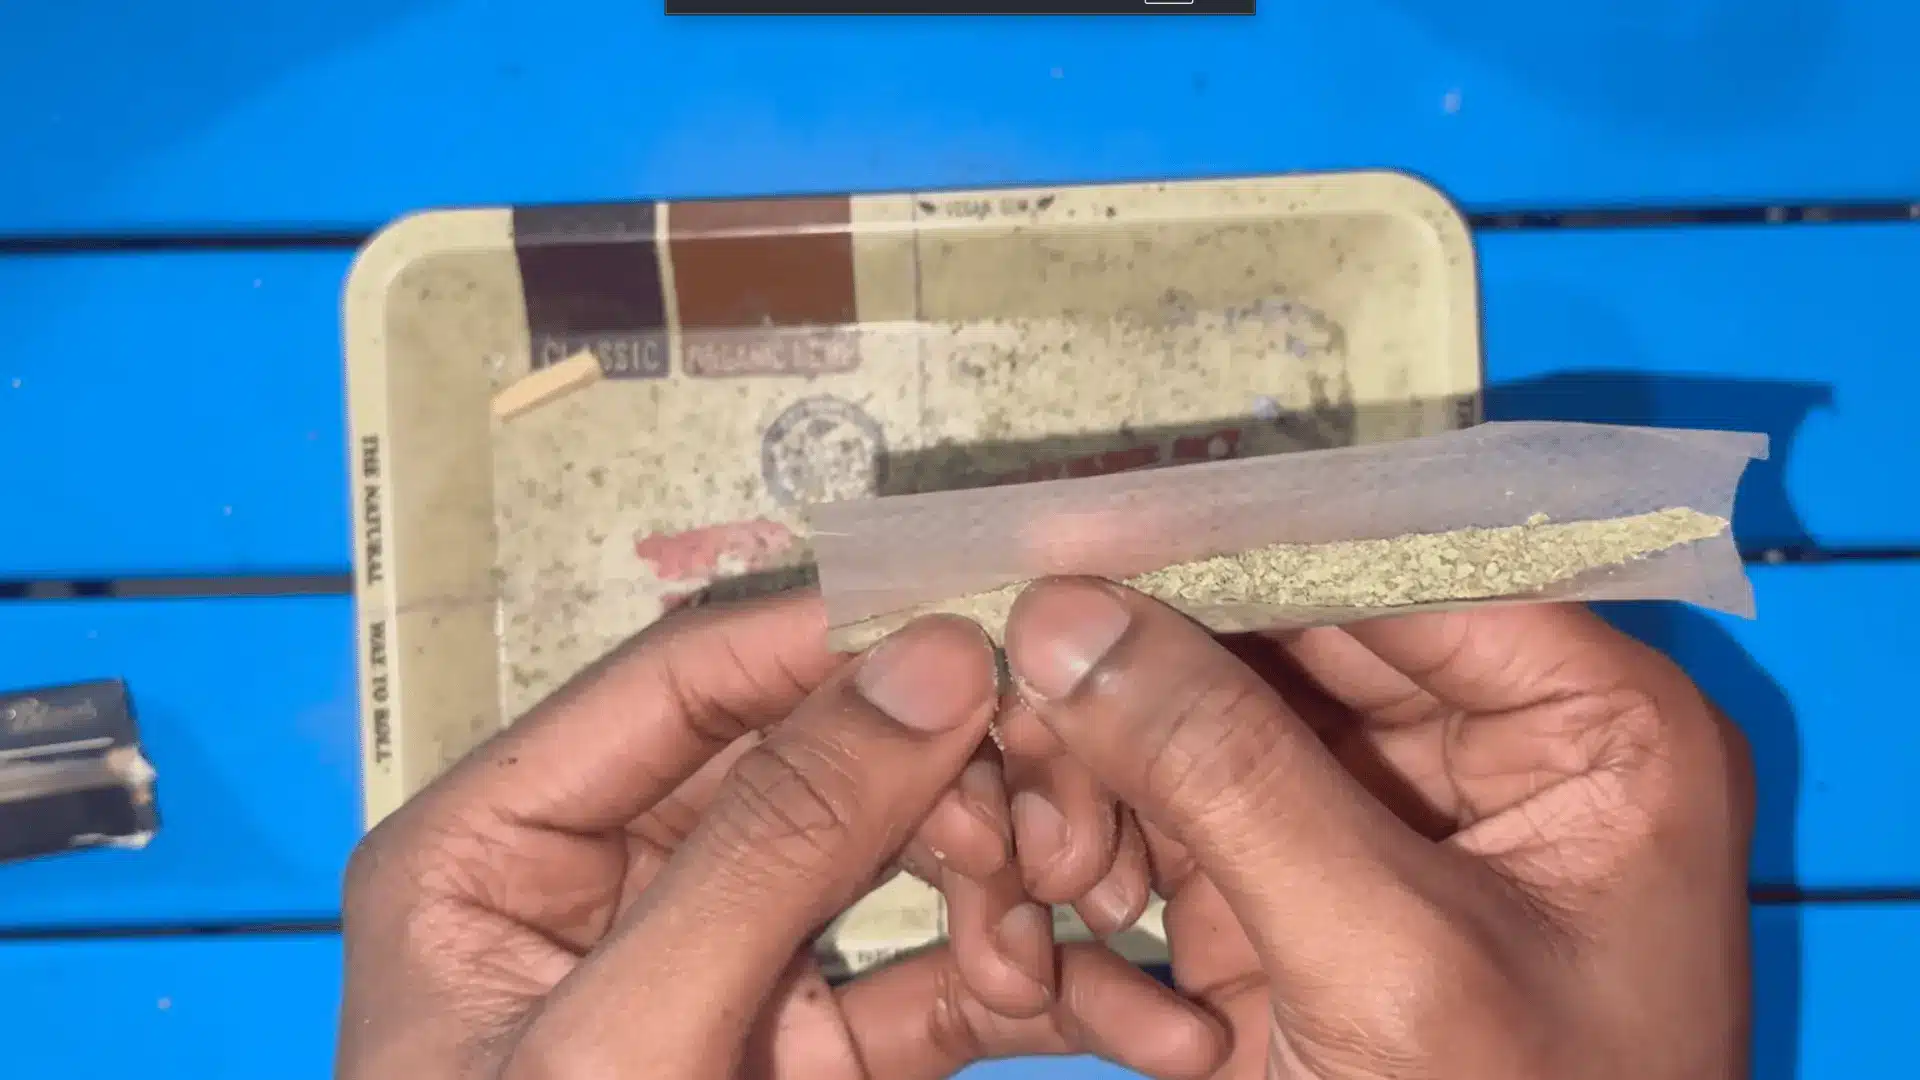
Use your fingers to spread the material into an even line across the paper. Since there is no filter, leave slightly more near the mouthpiece end to help it hold its form.
The opposite end can be a little wider, creating a gentle cone shape. Check for thick or empty areas and adjust them before moving forward.
Even distribution helps the finished roll feel balanced and supports more consistent airflow throughout.
Step 3. Form the Filterless Mouthpiece
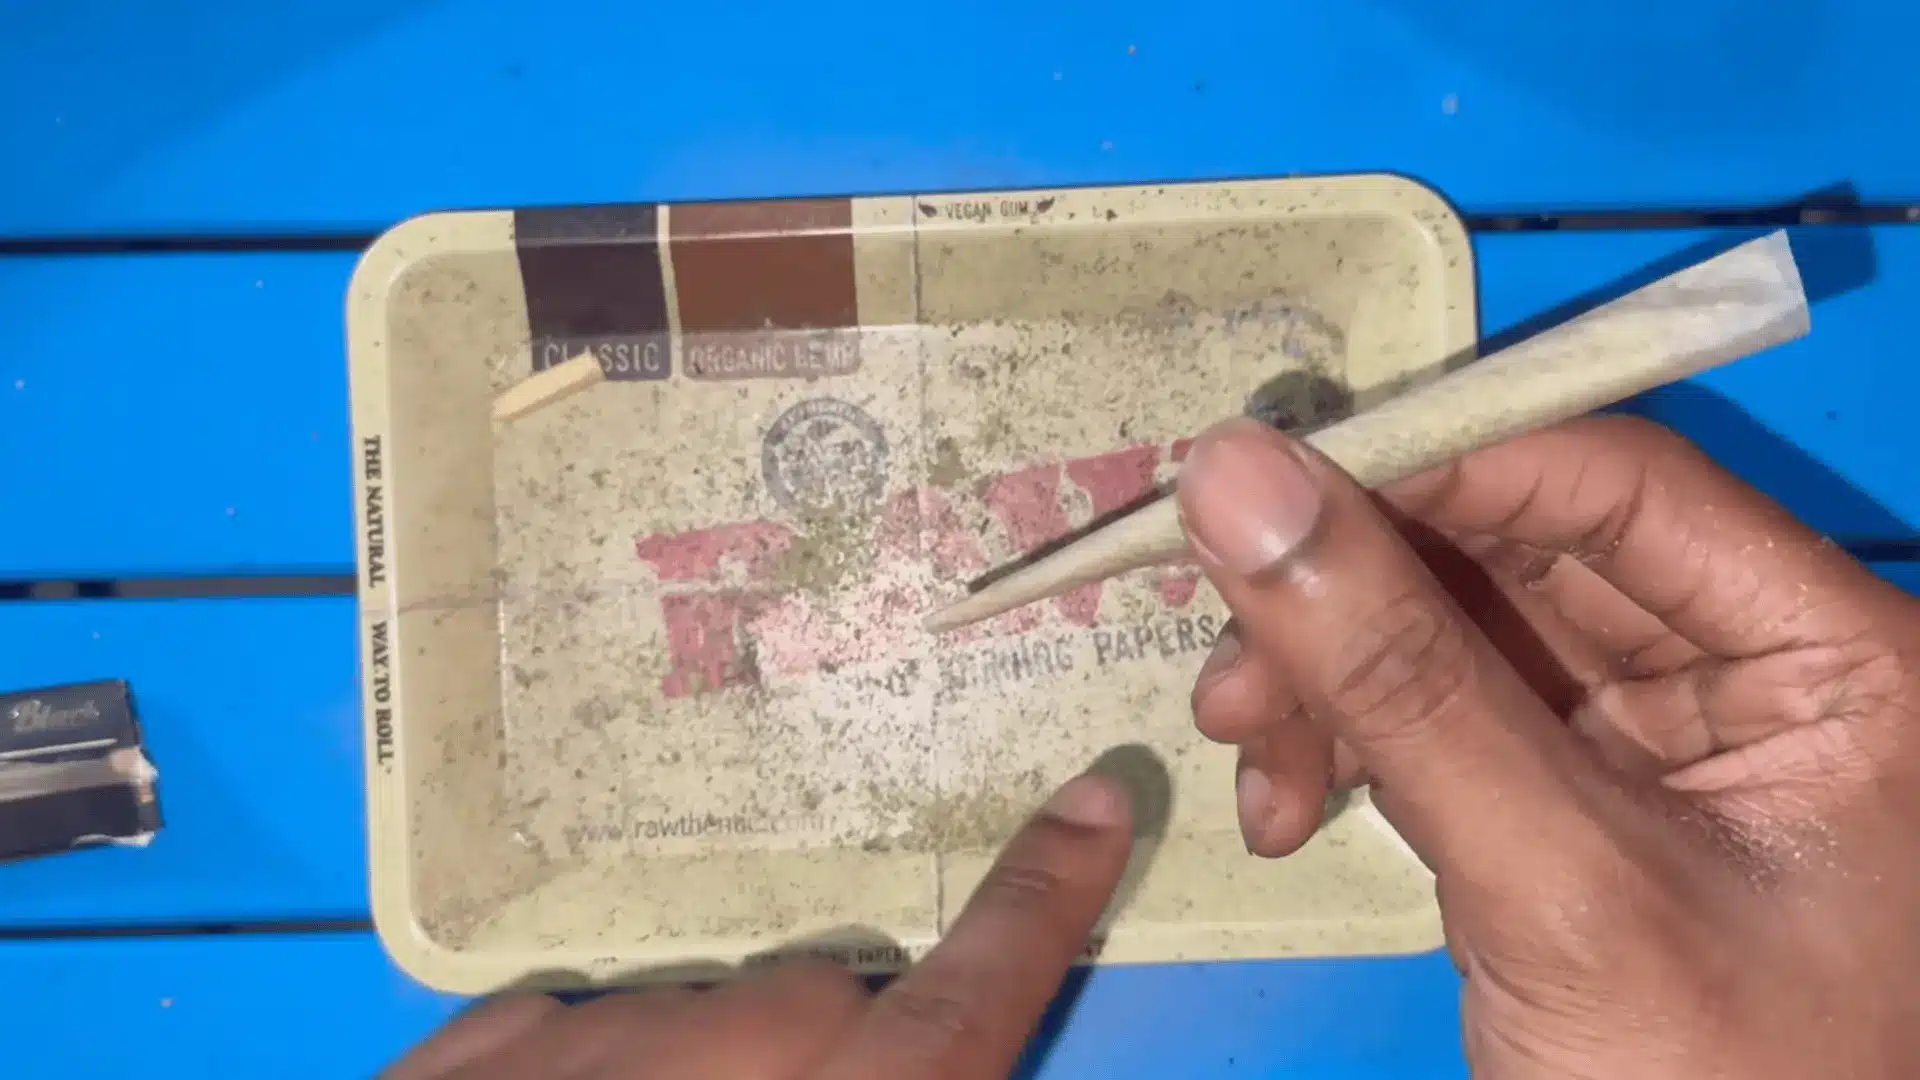
Shape the mouthpiece by wrapping the paper firmly around the material at one end. This section replaces the support normally provided by a filter, so it should be narrow enough to hold together without closing completely.
Keep the opening clear so air can pass through it. Hold this end securely while shaping the rest of the paper, as a loose mouthpiece may flatten, spill, or become difficult to use properly.
Step 4. Tuck, Roll, and Seal the Paper
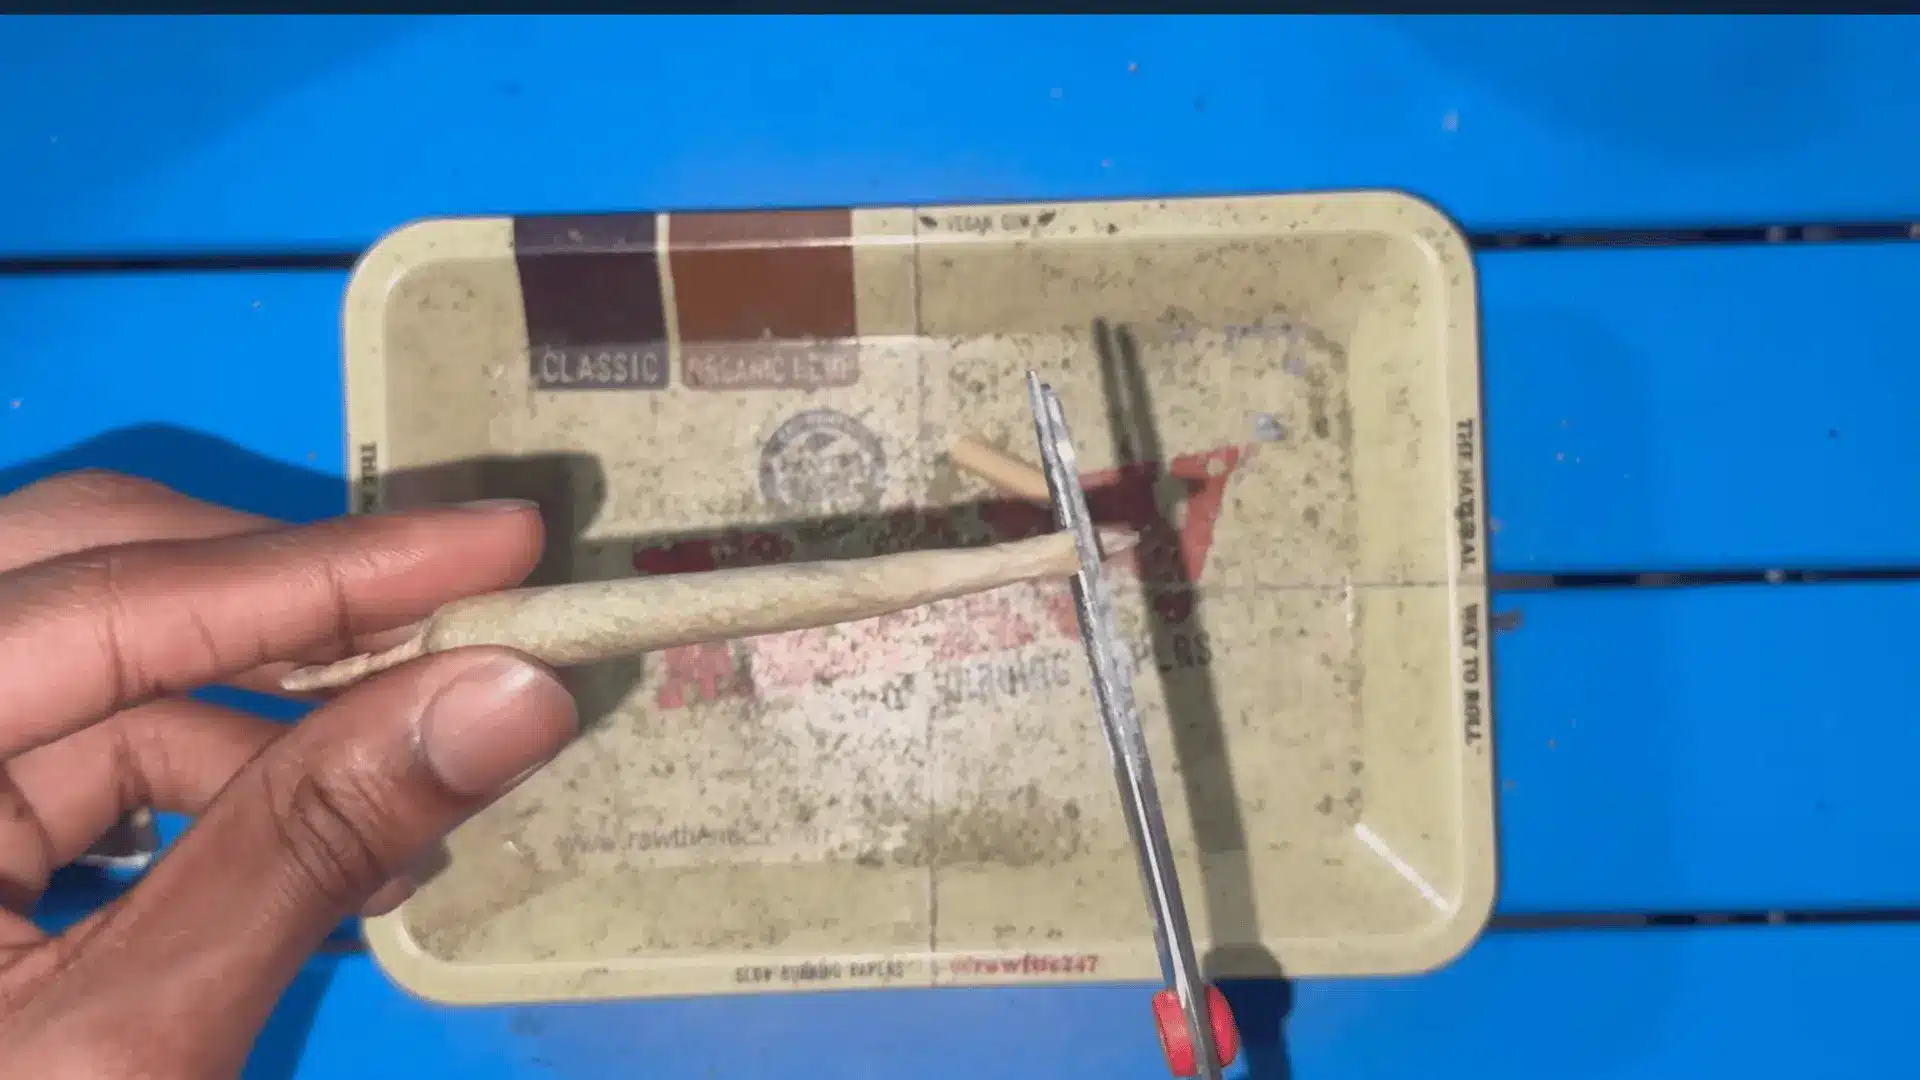
Once the shape feels even, tuck the lower edge of the paper beneath the material, starting near the mouthpiece and working toward the wider end. Keep the roll firm without pressing it too tightly.
Continue wrapping the paper around the contents until only the adhesive strip remains exposed. Moisten the strip lightly and press it along the seam. Allow the sealed edge to set before making any final adjustments.
Watch this video by Just Smoking Weed for clear instructions:
How to Check the Finished Joint
A short inspection can catch loose sections, blocked airflow, or an unstable filter before the joint is handled further.
- Shape: The body should look even, without deep dents, sharp bends, or large bumps.
- Seam: The gum strip should sit flat against the paper with no lifted sections.
- Filter or mouth end: The mouthpiece should stay level and should not collapse or move when touched lightly.
- Density: The flower should feel firm but not hard when the paper is pressed gently.
- Airflow: Gently pull air through the unlit mouth end. It should offer light resistance without feeling blocked.
- Open end: The twisted tip should hold the flower inside without crushing the upper section.
Passing every check does not guarantee a completely even burn. Flower moisture, paper condition, and lighting can still affect the result.
Straight Joint vs Cone Joint
Both shapes use the same basic rolling method. The main difference is how the flower is spread and how the paper is angled during shaping.
| Feature | Straight Joint | Cone Joint |
|---|---|---|
| Shape | Similar width from end to end | Narrow near the filter and wider at the tip |
| Flower placement | Spread in an even line | More flower toward the open end |
| Tucking method | Paper stays fairly level | Paper is guided at a slight angle |
| Beginner difficulty | Easier to shape and seal | Requires better control of the fill |
| Common issue | Loose or tight sections | Uneven density near the wider end |
| Best starting choice | Small roll with a filter | Better after learning a straight roll |
Leafly defines a cone as a joint that begins narrow at the filter and gradually widens toward the opposite end.
Joint Rolling Tips for Beginners
A few simple habits can make the rolling process easier and reduce common problems:
- Start with a Smaller Joint: A short, straight joint is usually easier to control than a wide cone.
- Use Less Flower: Leave extra space along the top edge so the paper is easier to shape and tuck.
- Shape Before Sealing: Roll the paper gently between the fingers until the flower forms an even cylinder.
- Begin at The Filter: Start the tuck near the filter and move slowly toward the open end.
- Keep a Light Grip: Too much pressure can tear the paper, while a loose hold may cause spills.
- Check the Firmness: The finished joint should feel firm but still move slightly when pressed.
- Avoid Common Problems: Thick stems, powdery flower, overfilling, and excess moisture can make rolling more difficult.
A Better Roll Starts With Control
A reliable joint comes from control, not force. Use an even grind, leave room along the paper, and shape the flower before attempting the tuck.
A filter can make rolling easier because it gives the paper a firm starting point and keeps the mouth end open. When a joint feels blocked, soft, or uneven, rerolling it is often better than adding pressure.
Skill improves through adjustments, so begin with a straight joint and a modest fill. Follow your state cannabis laws, keep cannabis products away from children and pets, and never drive after using cannabis.
The CDC warns that cannabis smoke can harm lung tissue, so no smoking method is risk-free. If cannabis causes troubling effects, speak with a health professional.
Share your personal rolling experience or helpful tip in the comments below today.
Frequently Asked Questions
What is the Easiest Joint to Roll?
A small straight joint with standard paper and a paper filter is usually the simplest starting point. The filter supports one end, while the even shape requires less control than a wide cone.
Can a Joint be Rolled Without a Grinder?
Yes. Flower can be broken apart carefully by hand or cut with clean scissors. The pieces should remain similar in size, and thick stems should be removed before placing the flower inside the paper.
Why does a Joint Fall Apart?
The paper may be underfilled, poorly shaped, loosely tucked, or insufficiently sealed. A filter that is too narrow can also create an unstable mouth end that allows the paper to loosen.
Why is a Joint Hard to Pull?
The flower may be ground too finely, packed too firmly, or compressed around the filter. Heavy resistance often means the contents need to be loosened or rerolled with less pressure.