I know how frustrating it feels when you’re ready to smoke, and the weed just isn’t cooperating.
Maybe it’s too chunky, too sticky, or your grinder is missing again. That’s usually when people start thinking about how to grind weed properly. It seems basic, but grinding the wrong way can lead to uneven burns, clogged bowls, or wasted flower.
I’ve found that once you understand what grinding actually does, everything feels easier and more consistent. In this guide, I’ll break down grind size, grinder use, and simple DIY methods.
By the end, you’ll have a clear handle on how to grind weed in a way that works for you.
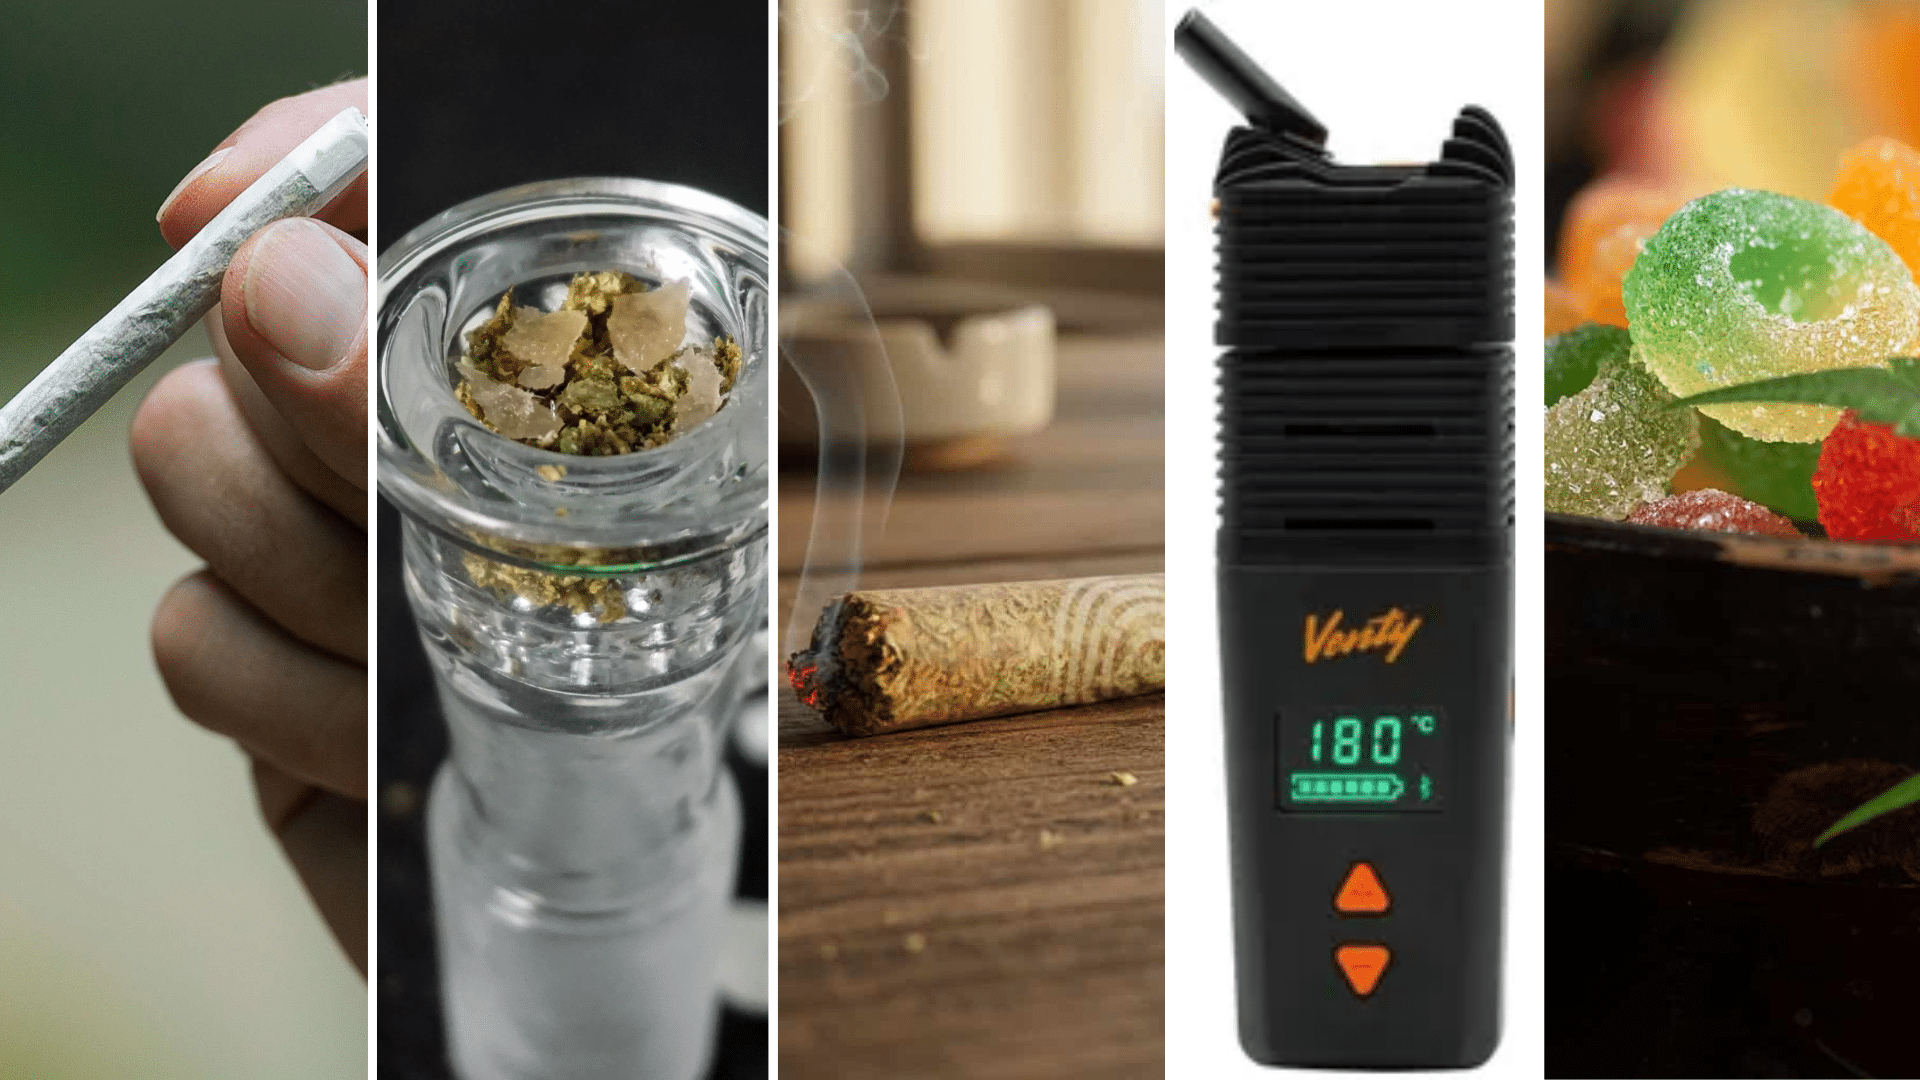
The Basics: What It Means to Grind Weed & Why It Matters
Grinding weed means breaking cannabis flower into small, even pieces before smoking or vaping. This process increases the surface area, improves airflow, and helps the flower burn more consistently.
What matters most is uniform size, not whether the grind is ultra-fine or chunky. Even pieces burn at the same rate, while uneven chunks can cause harsh hits or wasted weed.
Discussions on r/Coffee often revolve around the idea that grinding finer automatically improves results.
Many users later note that grind consistency matters more than going finer, reinforcing why even-sized pieces usually perform better than overly fine material.
Most people grind weed because it leads to a smoother, more controlled experience. Ground weed burns evenly, allows air to pass through easily, and packs better in joints, bowls, and pipes.
It also helps prevent clogging and reduces wasted flowers. Grinding is strongly recommended for joints, bowls, and vaporizers, but it can be optional for very small, hand-packed bowls in a pinch.
How Fine Should Weed Be Ground?
Getting the right grind size helps weed burn evenly, improves airflow, and prevents harsh hits or wasted flower during use.
- Joints: Medium grind works best, allowing steady airflow while helping the joint burn evenly from start to finish.
- Bowls: A medium-to-slightly-coarse grind prevents clogging while still allowing strong airflow and smooth pulls.
- Blunts: A coarse to medium grind slows the burn and helps keep the wrap from overheating or burning unevenly.
- Vaporizers: A Fine, even grind improves heat contact and produces consistent vapor without blocking airflow.
- Edibles: Fine grind works best, helping cannabis infuse evenly into butter or oil during cooking.
Understanding grinder types helps you choose one that fits your usage habits, grind preference, and long-term durability needs.
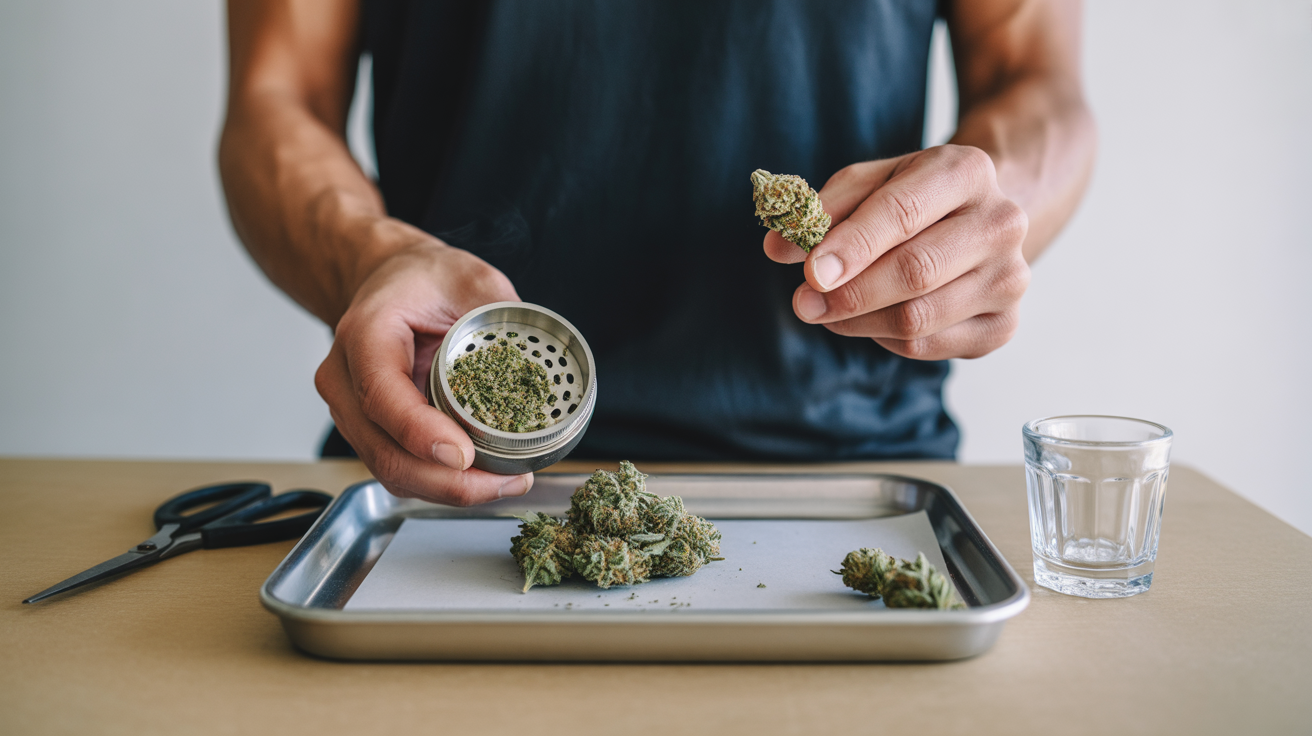
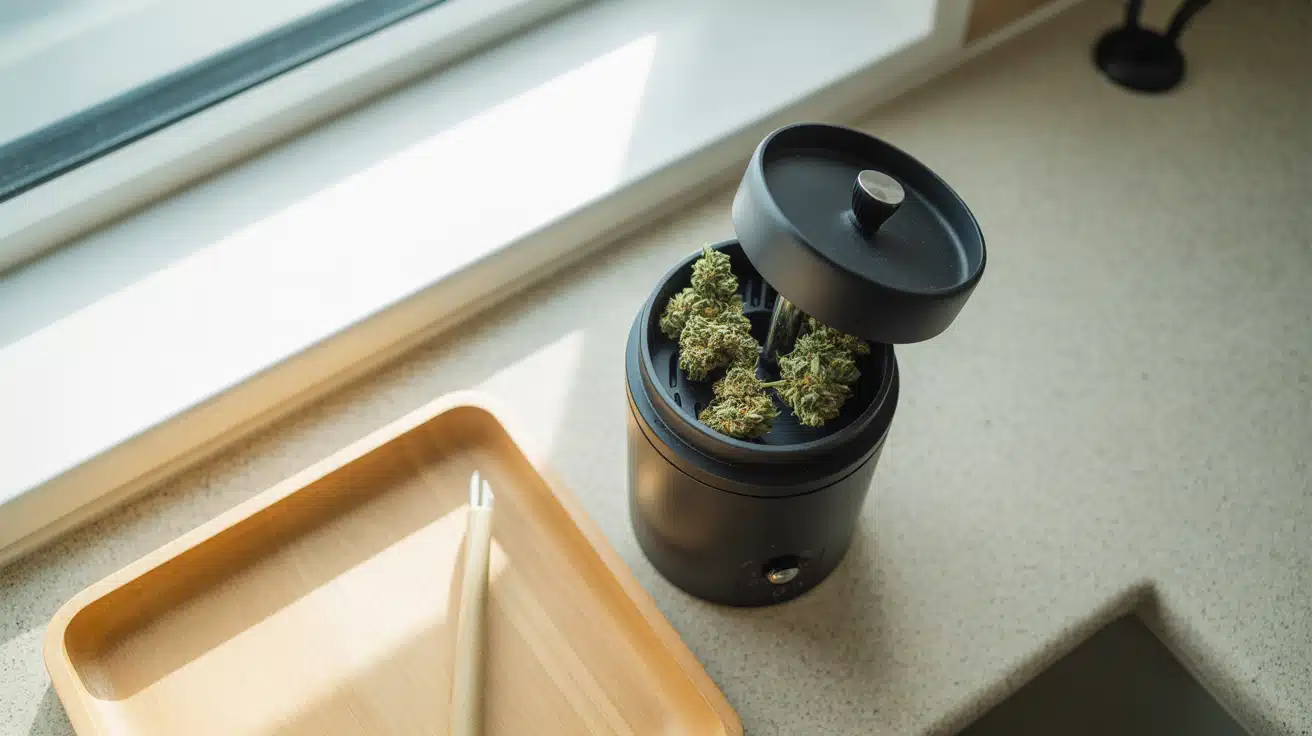
How to Grind Weed Using a Grinder
Using a grinder delivers consistent texture, better airflow, even burning, and less waste, making it the most reliable grinding method.
If you’re new, learning how to use a weed grinder correctly prevents crushed flower, clogged teeth, and lost kief.
On r/JamesHoffmann, beginners often mention they overpacked their grinder and couldn’t figure out why it kept jamming.
Other users explained that overcrowding restricts burr movement, causing stuck lids and uneven results until smaller, evenly loaded batches were used instead.
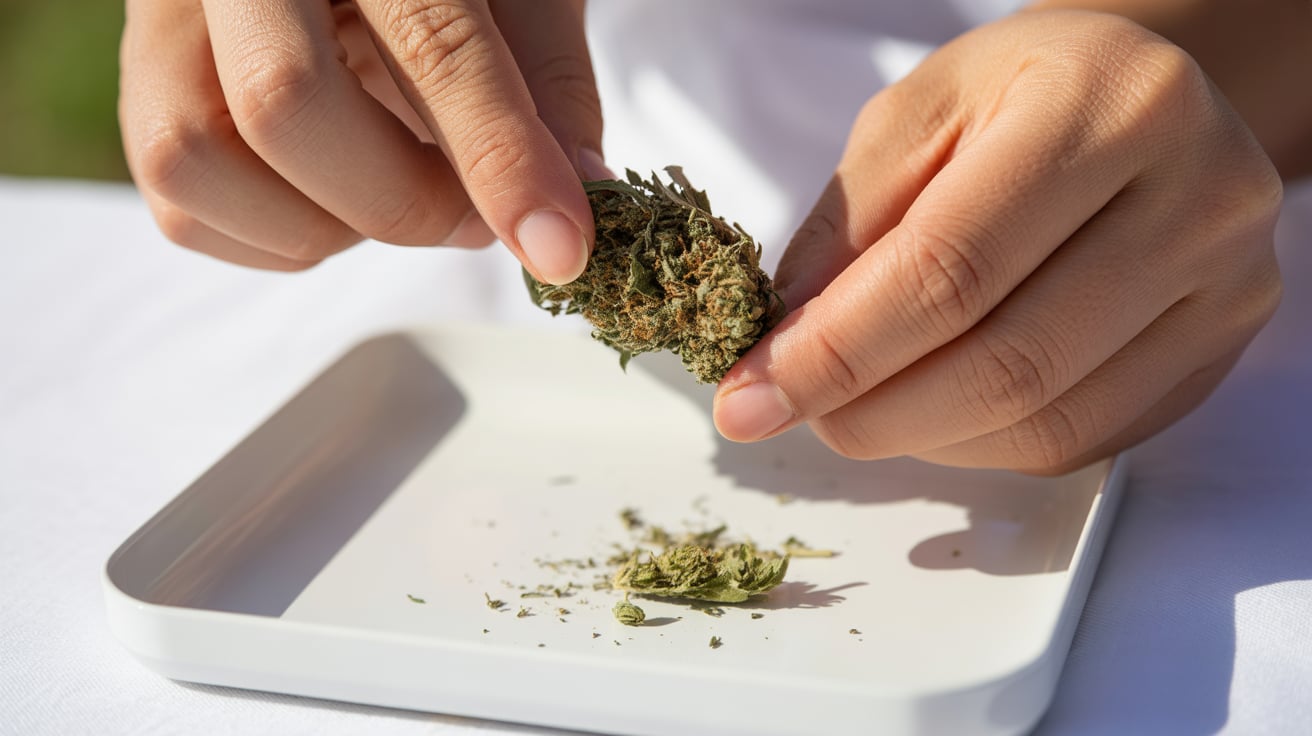
Step 1: Break Buds by Hand First
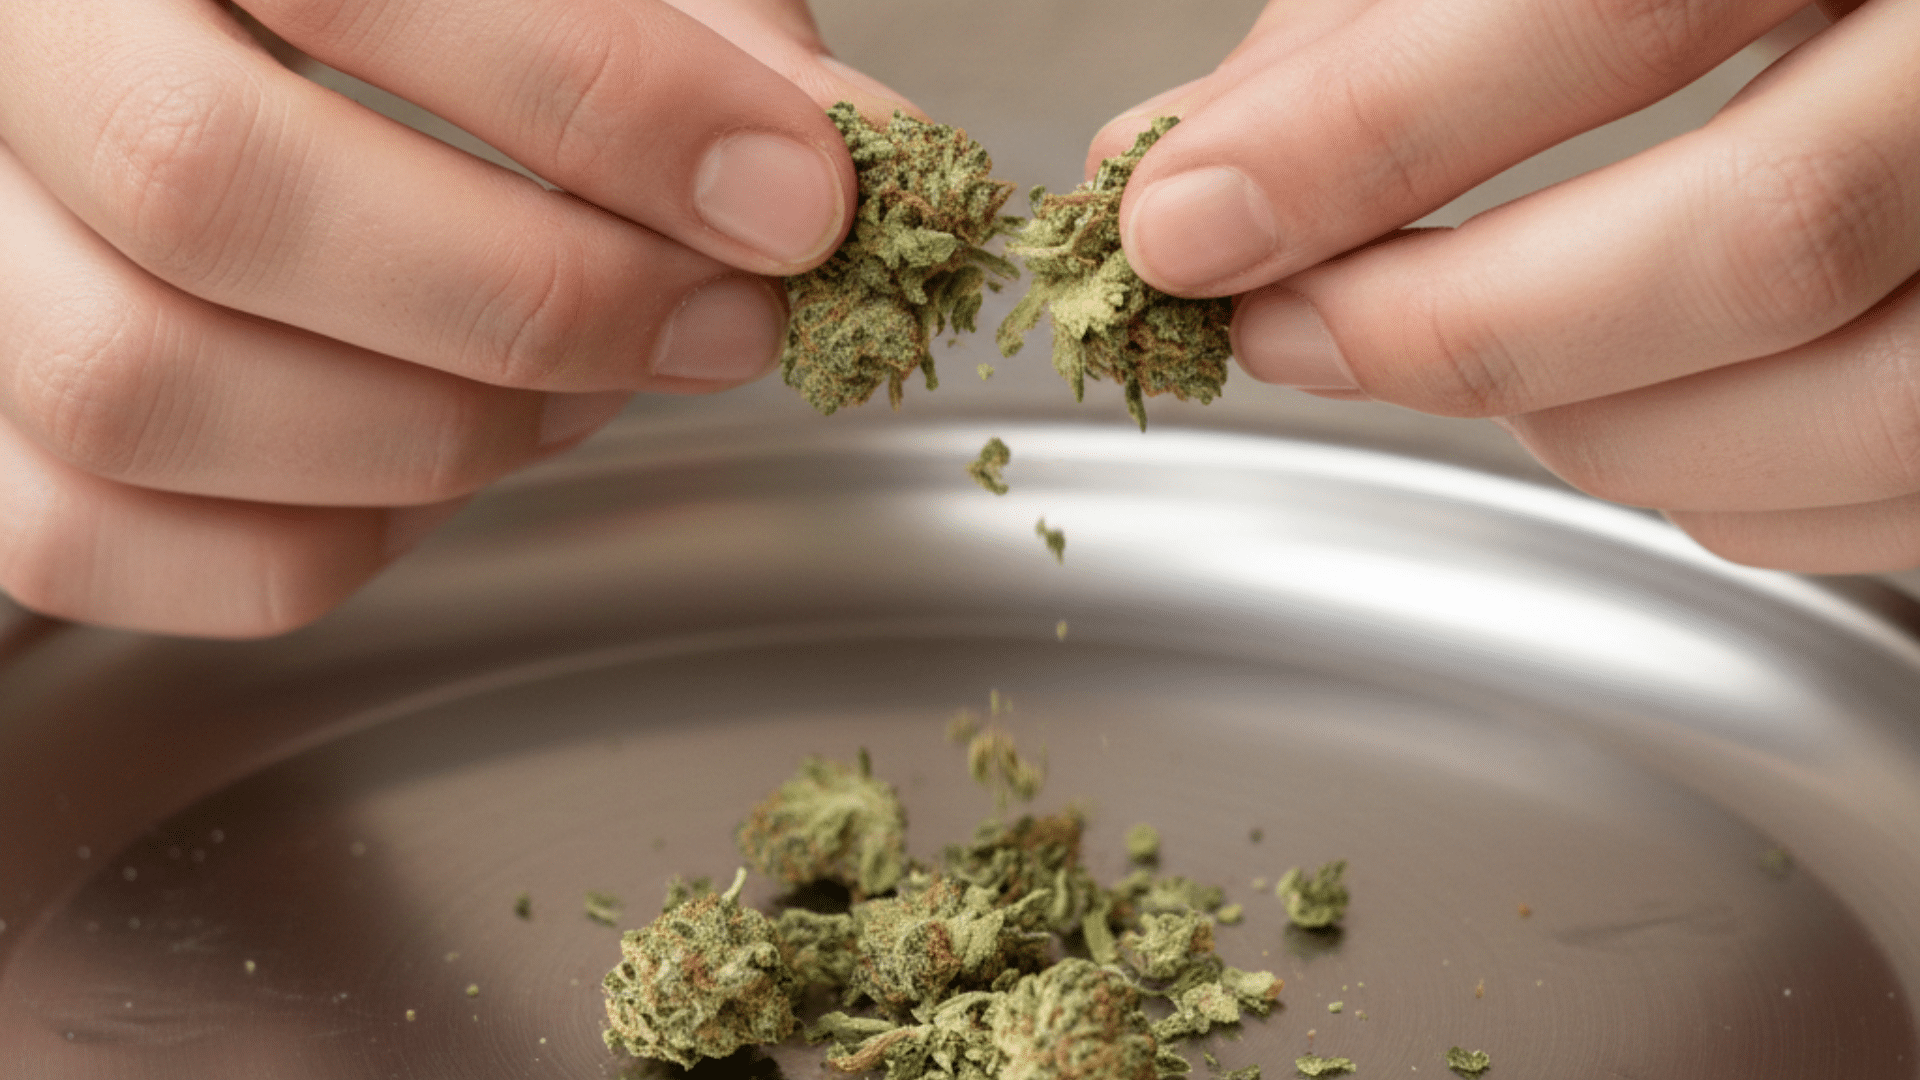
Before using a grinder, gently break larger buds into smaller pieces using your fingers. This helps the grinder teeth work evenly and prevents jamming. Large, dense nugs can strain the grinder and cause uneven grinding if dropped in whole.
Breaking buds by hand also lets you spot and remove stems or seeds early. Aim for pieces about the size of a pea so they fit comfortably between the teeth and grind smoothly without crushing or tearing the flower.
Step 2: Remove Stems and Seeds
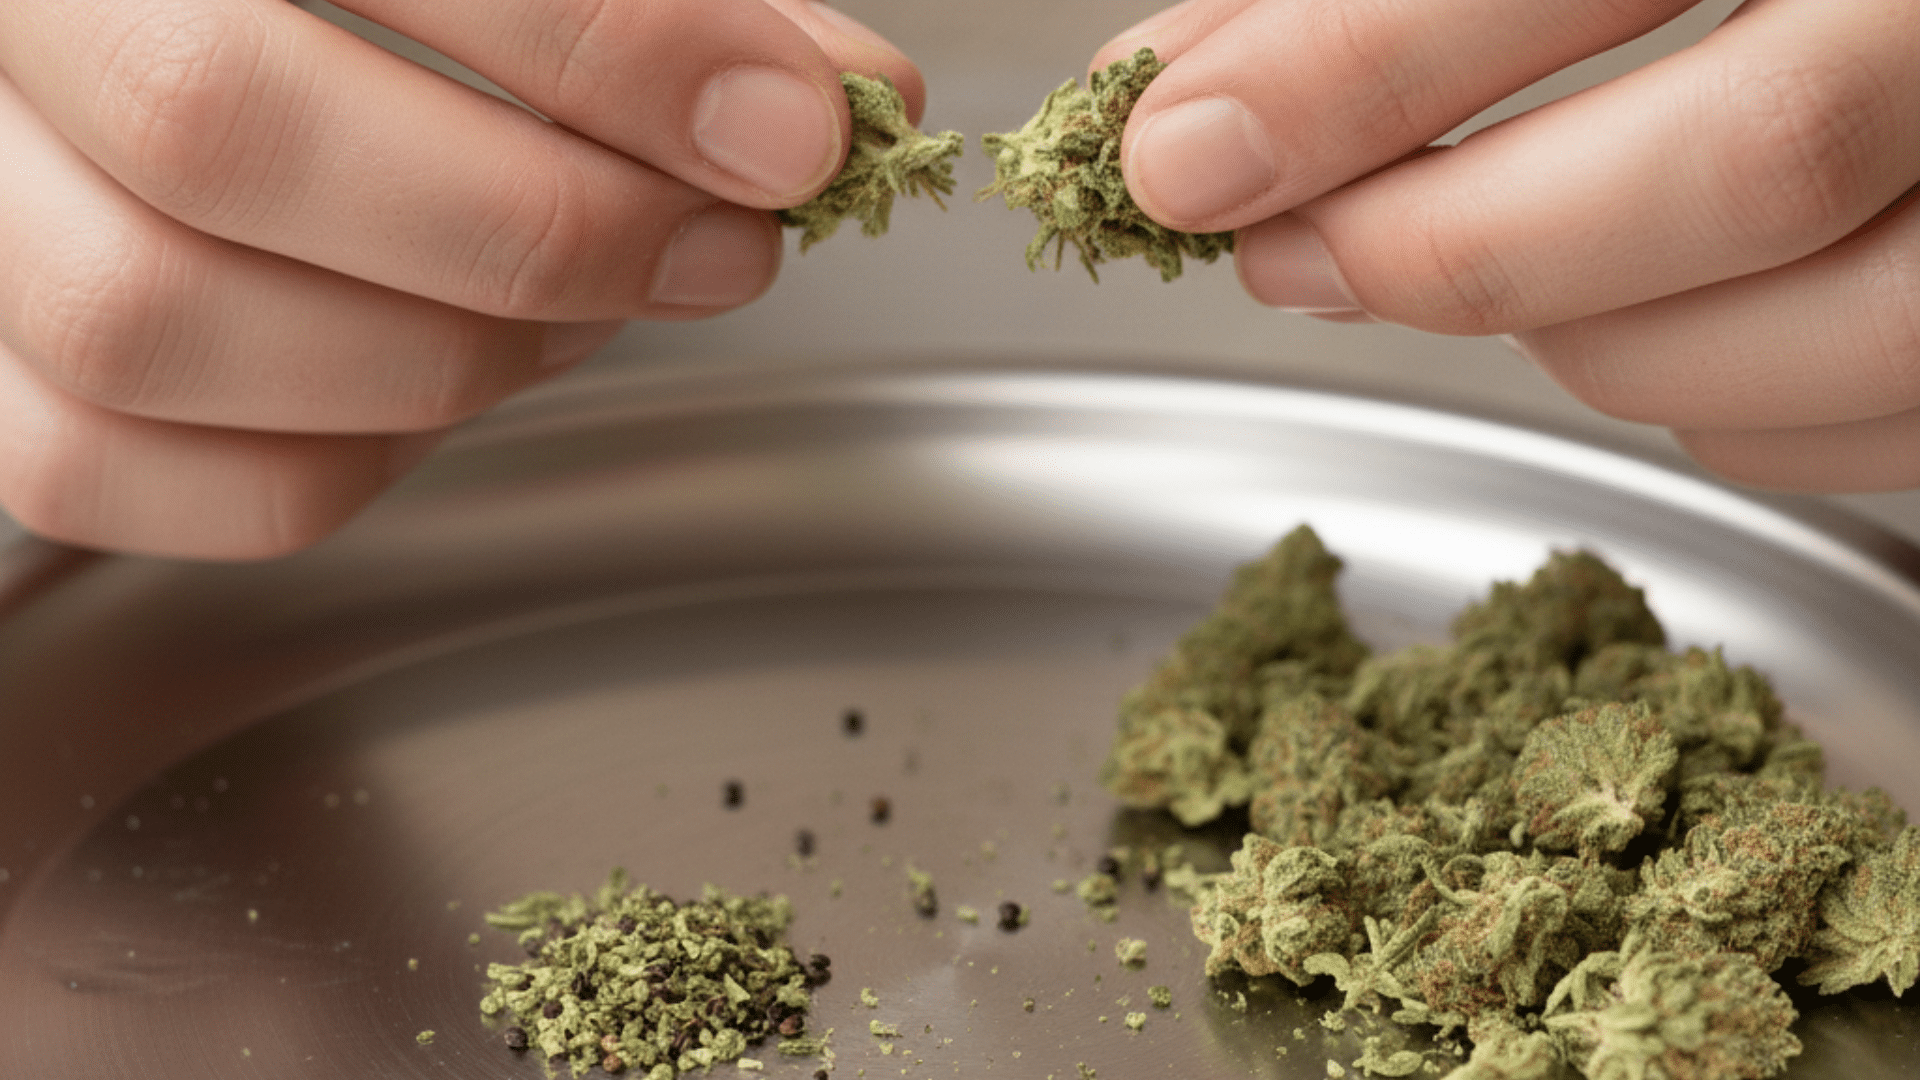
Always remove stems and seeds before placing weed into a grinder. Stems are tough and fibrous, which can dull grinder teeth over time. Seeds can crack during grinding, adding a harsh taste and potentially damaging the grinder.
Taking a few seconds to clean the bud improves grind quality and protects your tool. This step also helps ensure smoother airflow and a cleaner burn once the weed is packed into a joint, bowl, or pipe.
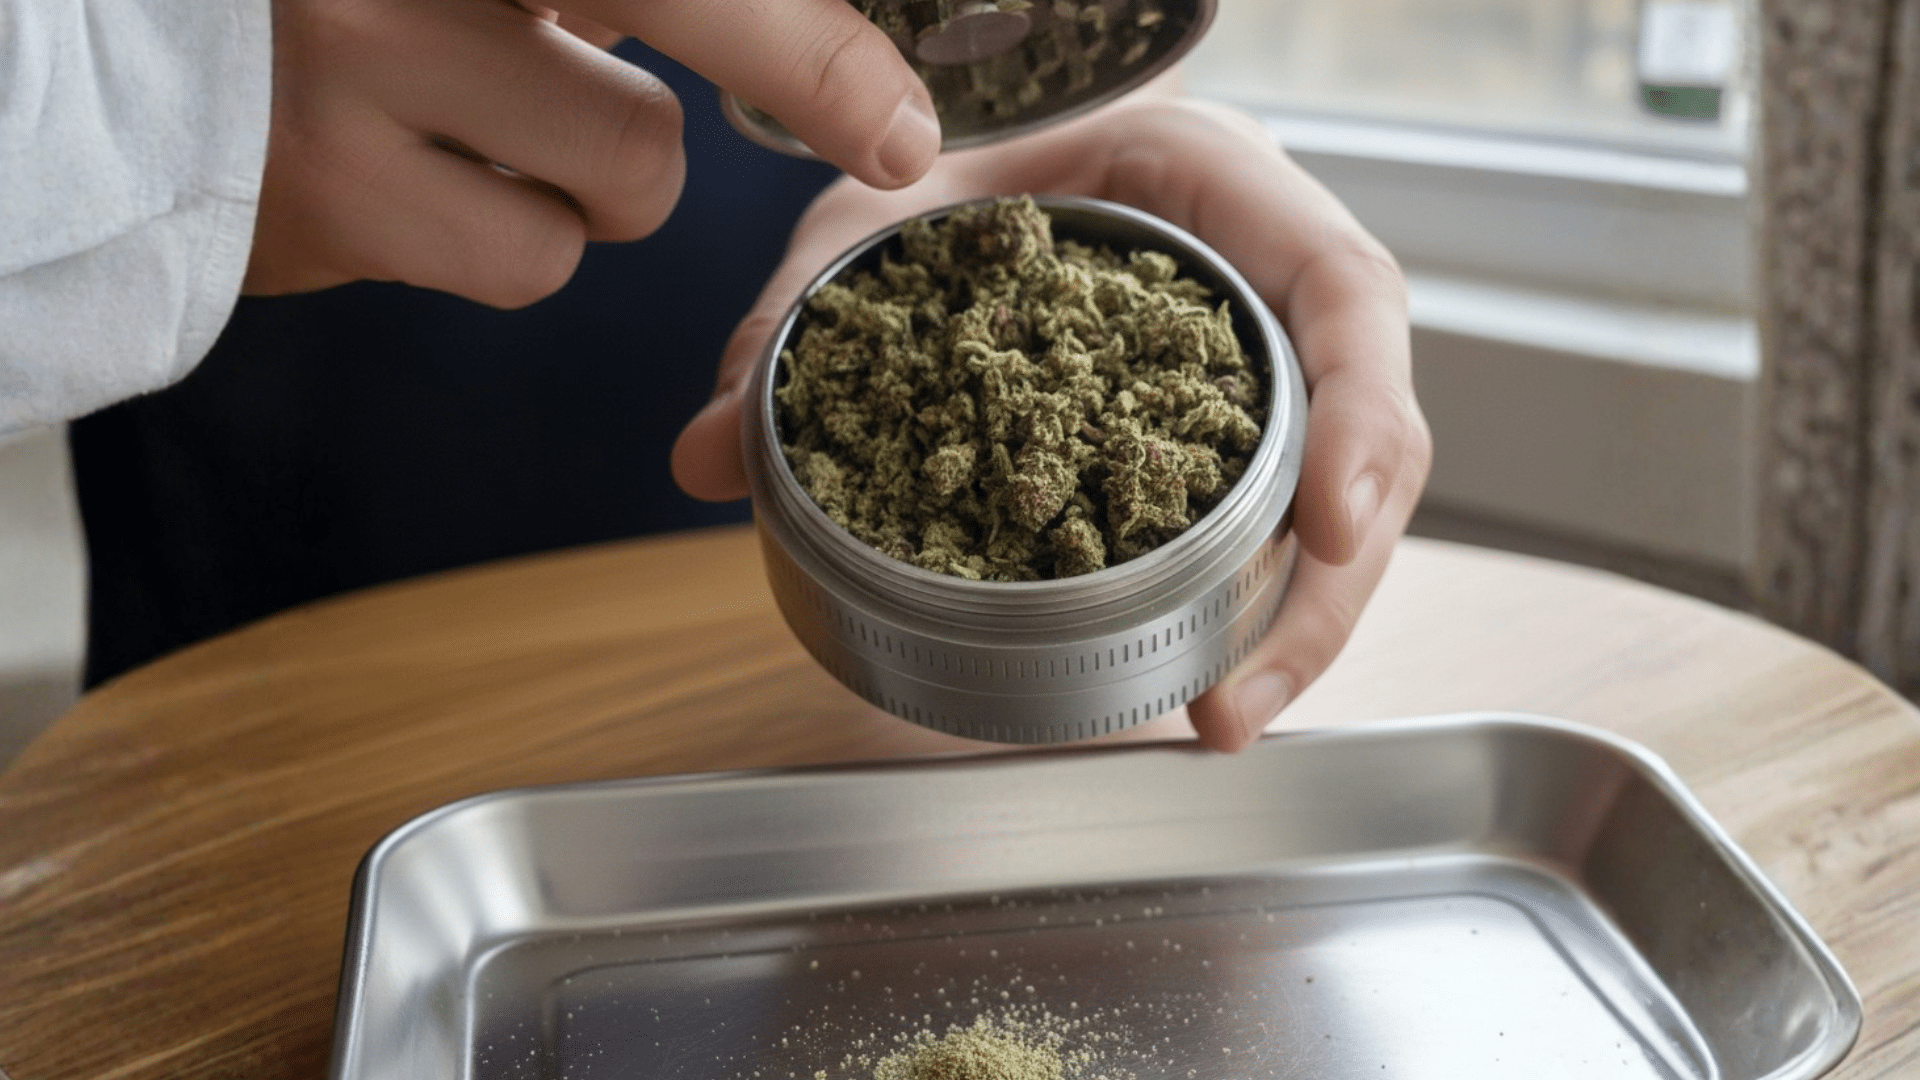
Step 3: Load Weed Evenly Across the Teeth
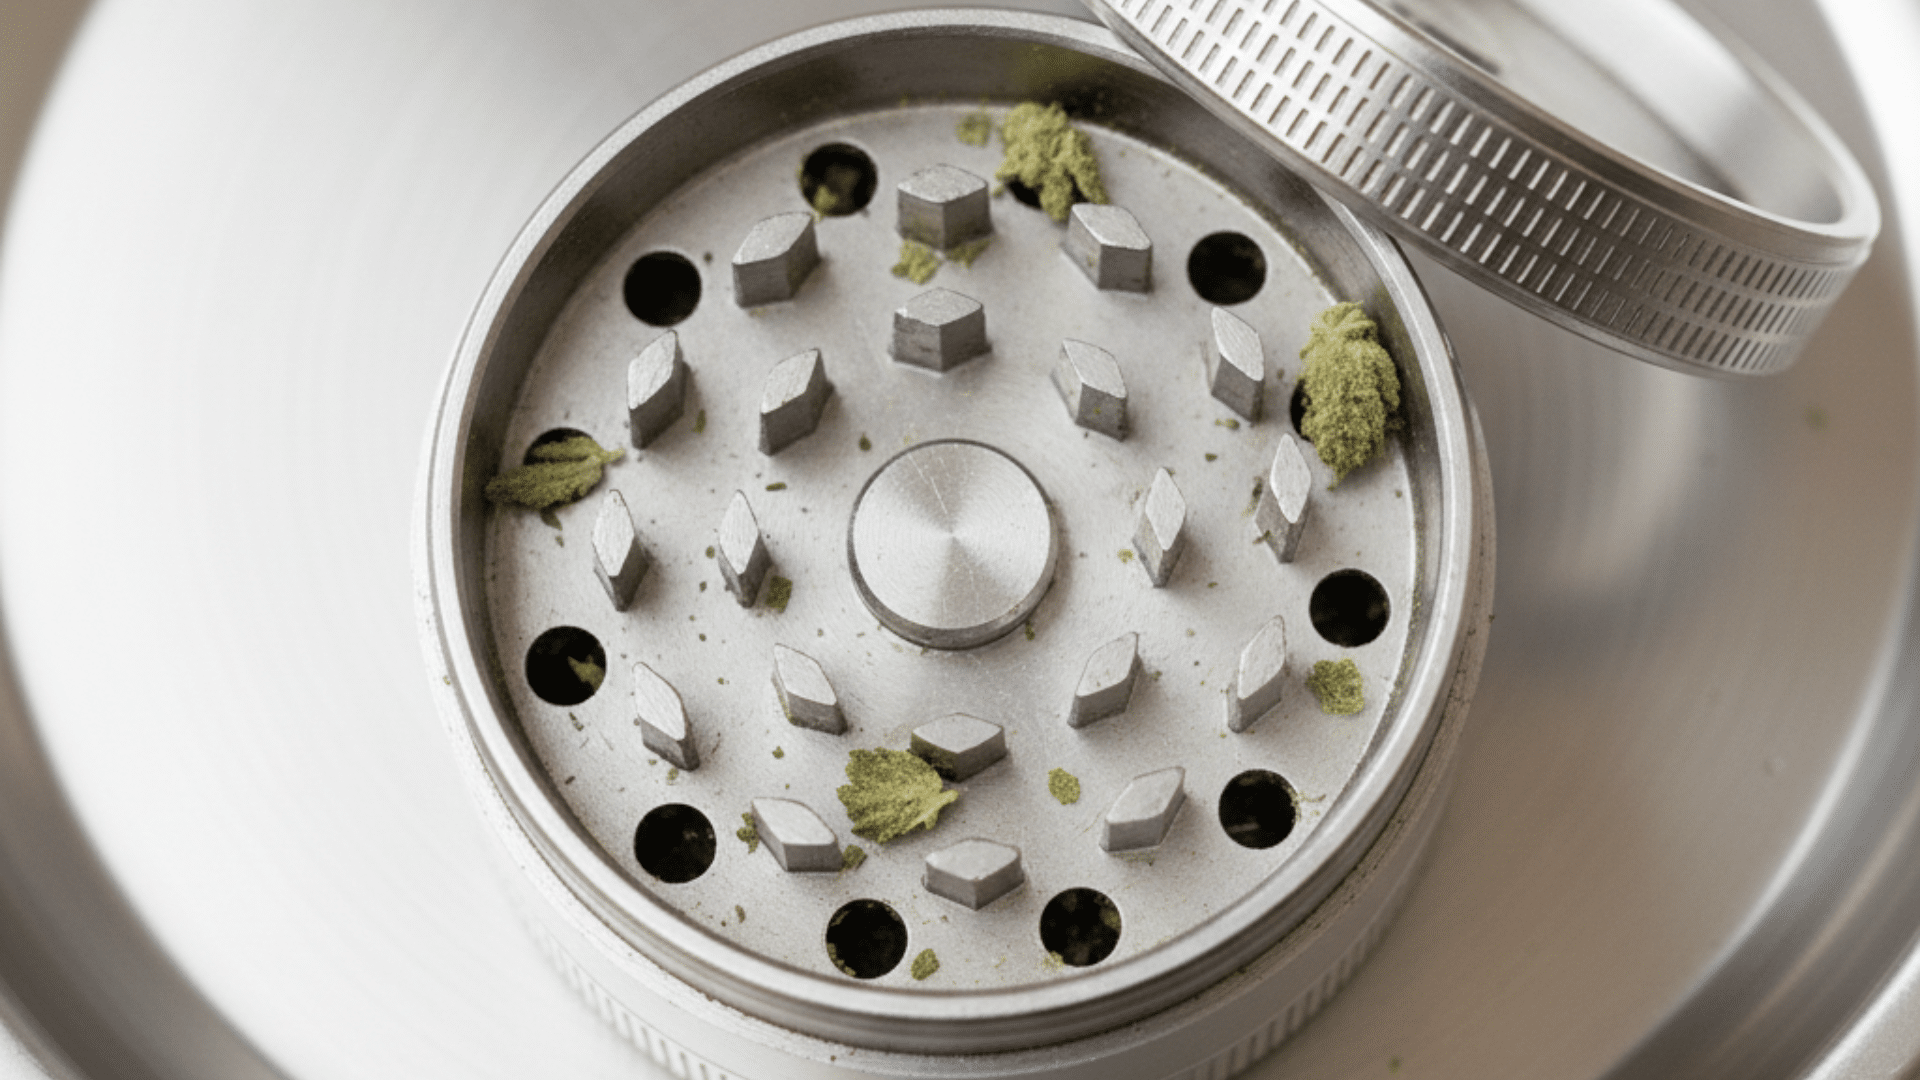
Place the broken pieces evenly around the grinder teeth instead of piling them in one spot. Even distribution allows the teeth to shred the weed uniformly as you twist.
Avoid stacking weed on top of itself, which can lead to uneven chunks or compacted flower. Proper loading helps you achieve a consistent grind size and reduces the need for excessive twisting, keeping trichomes more intact and improving overall results.
Step 4: Avoid the Center Magnet
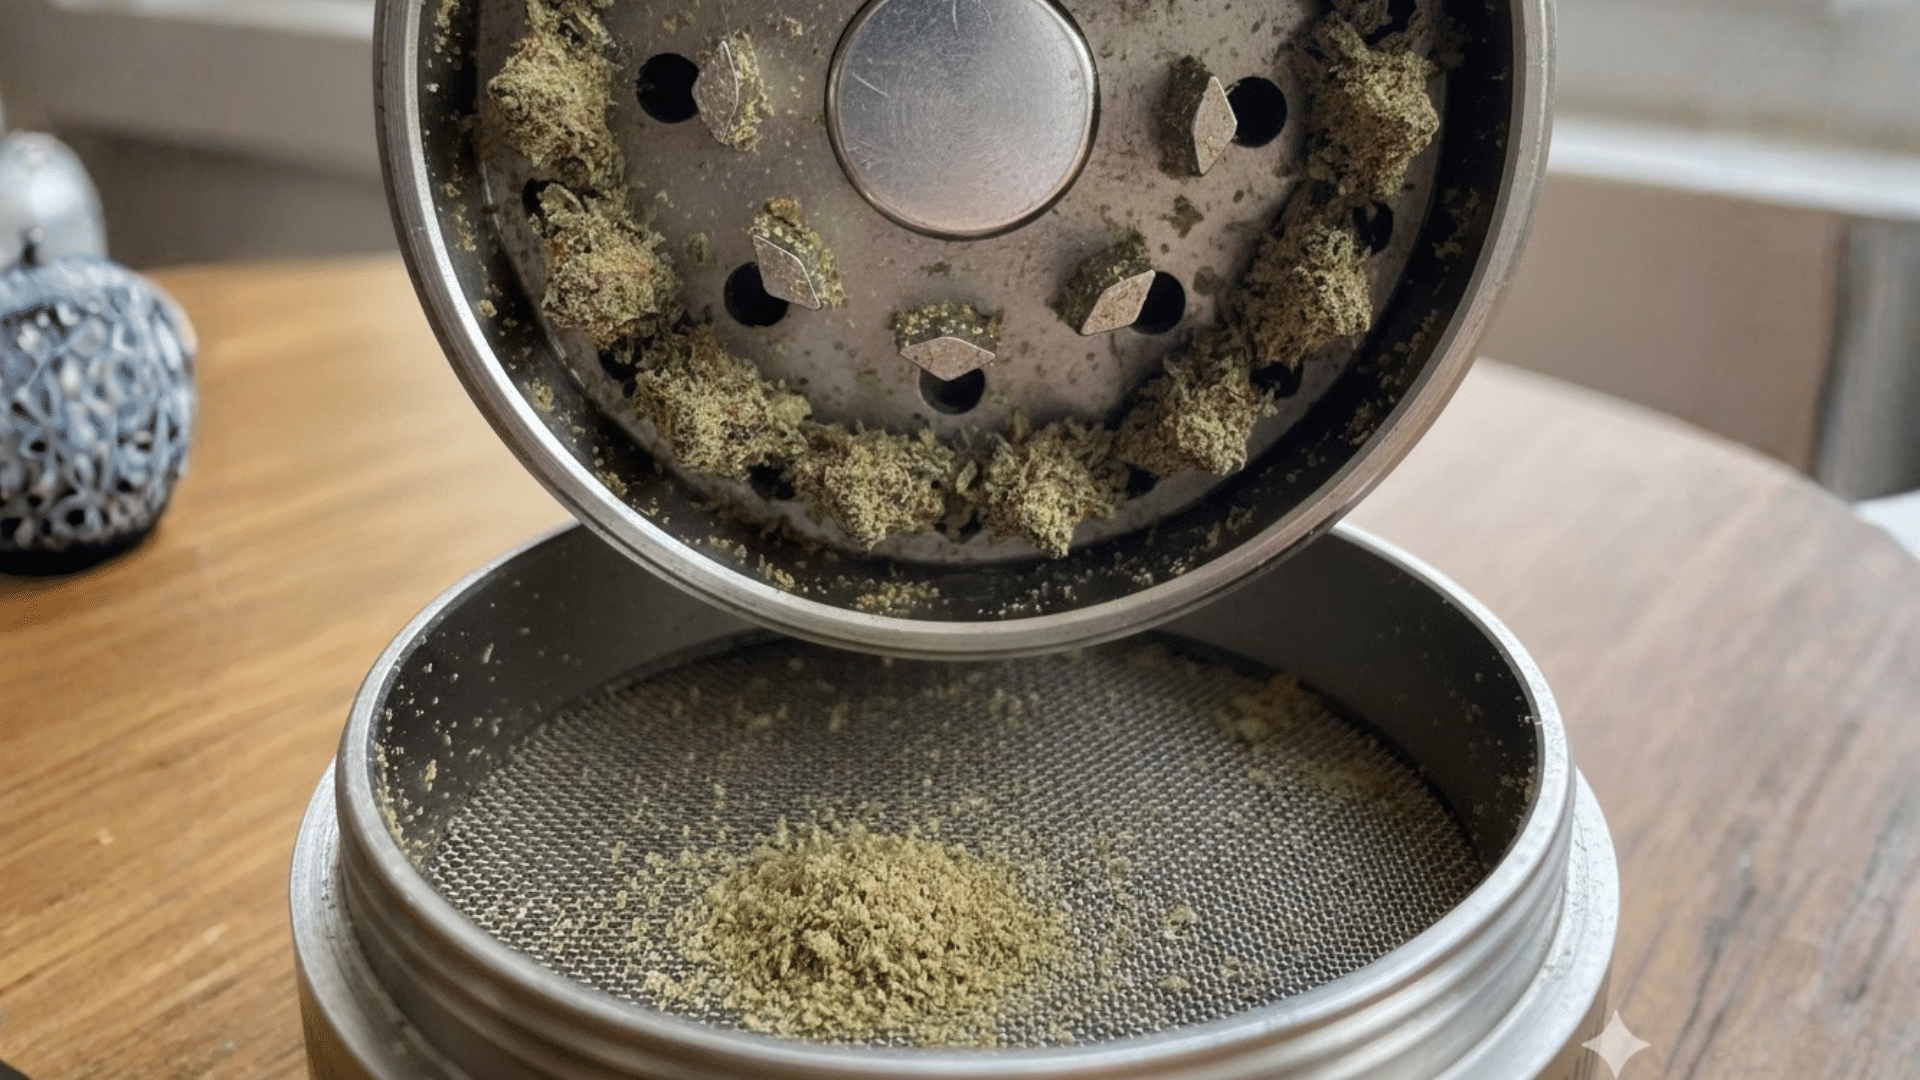
Most grinders have a magnet in the center of the lid to keep it closed. Avoid placing weed directly on this magnet, as it can block movement and cause grinding issues.
Weed stuck near the center often doesn’t break down properly and may force you to apply extra pressure. Leaving the center clear allows the grinder to spin freely and ensures all pieces move across the teeth evenly during grinding.
Step 5: Twist Gently, Not Forcefully
When grinding, use slow and controlled twists instead of forcing the grinder. Applying too much pressure can crush the weed rather than shred it, leading to uneven texture and trichome loss.
Gentle twisting protects the grinder’s teeth and gives you better control over grind size. If the grinder feels stuck, stop and open it to rearrange the weed instead of forcing it further.
Step 6: Check the Grind Consistency
After a few twists, open the grinder to check the texture of the weed. This prevents over-grinding and helps you match the grind size to your smoking method.
For joints and bowls, a medium grind usually works best. Vaporizers may need a finer grind. Checking early allows you to stop at the right point and avoid turning the weed into powder, which can burn too quickly.
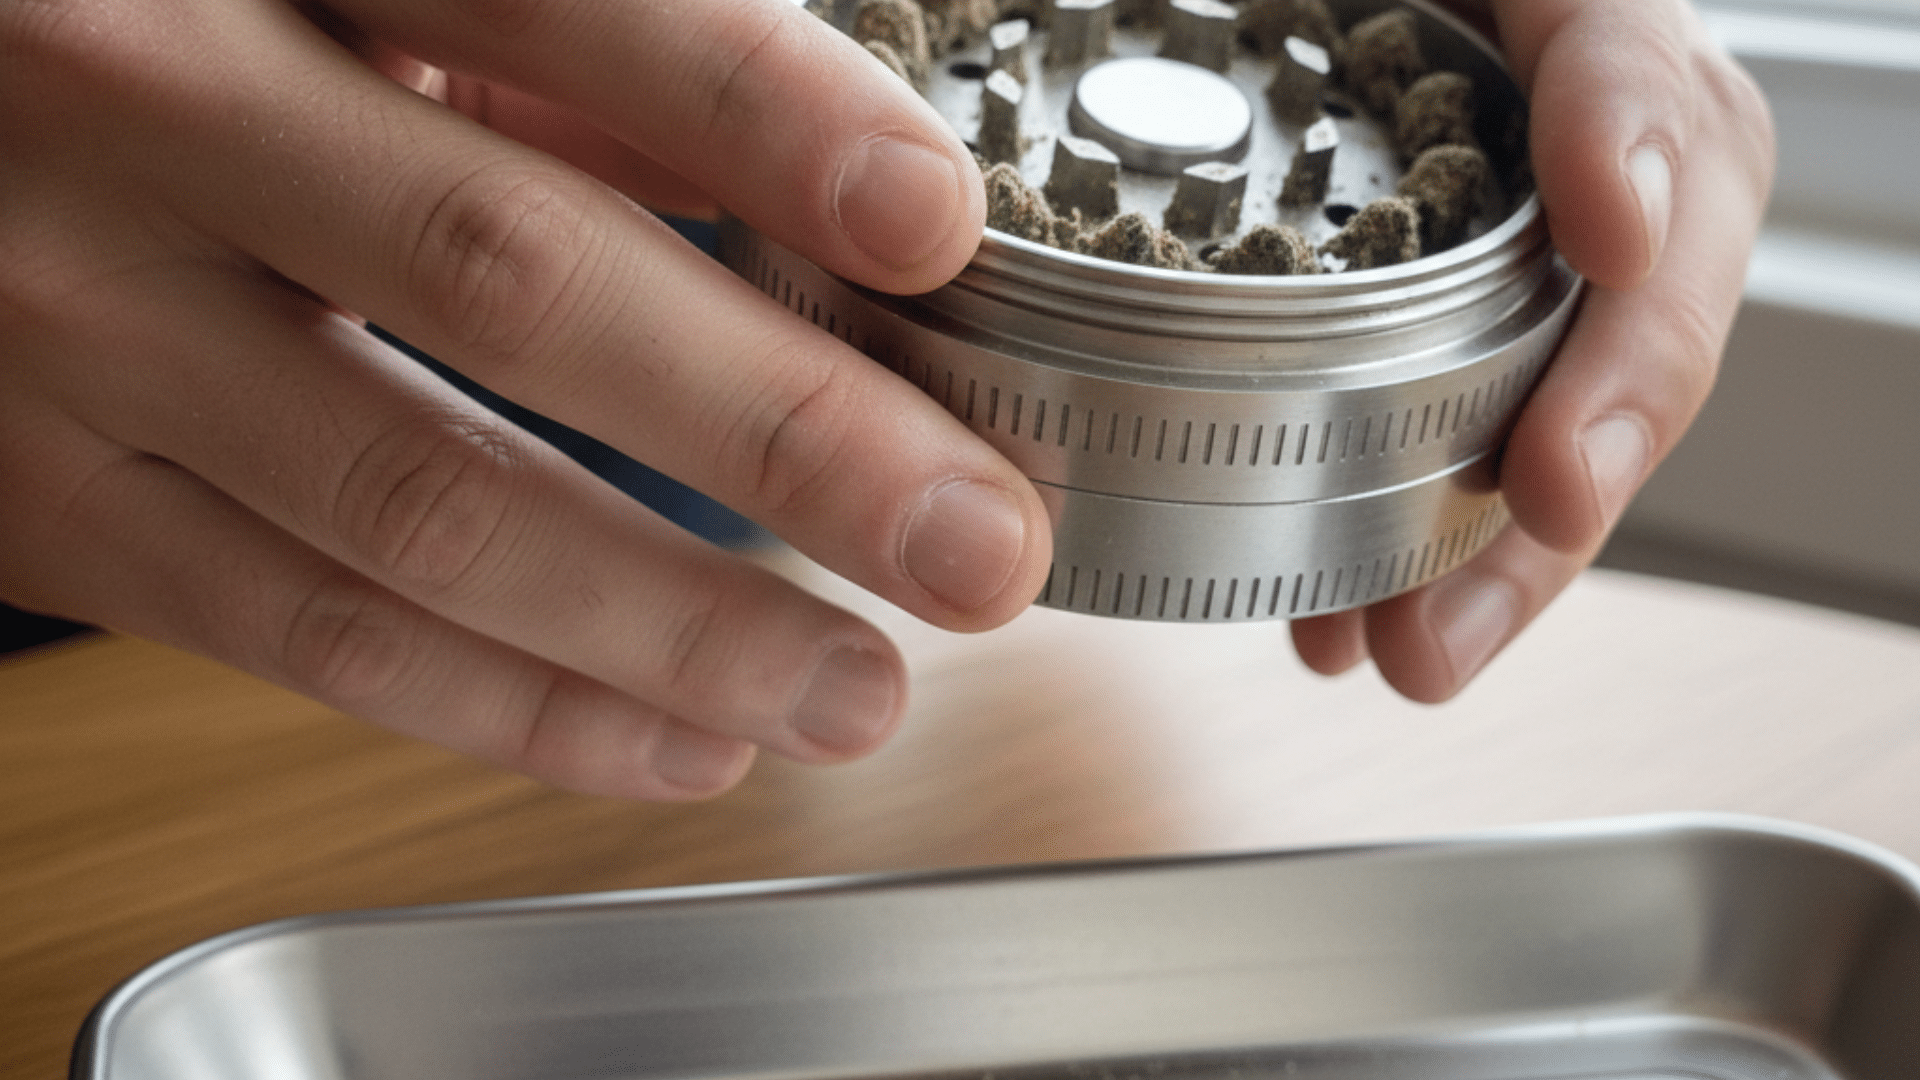
Step 7: Collect the Ground Weed Carefully
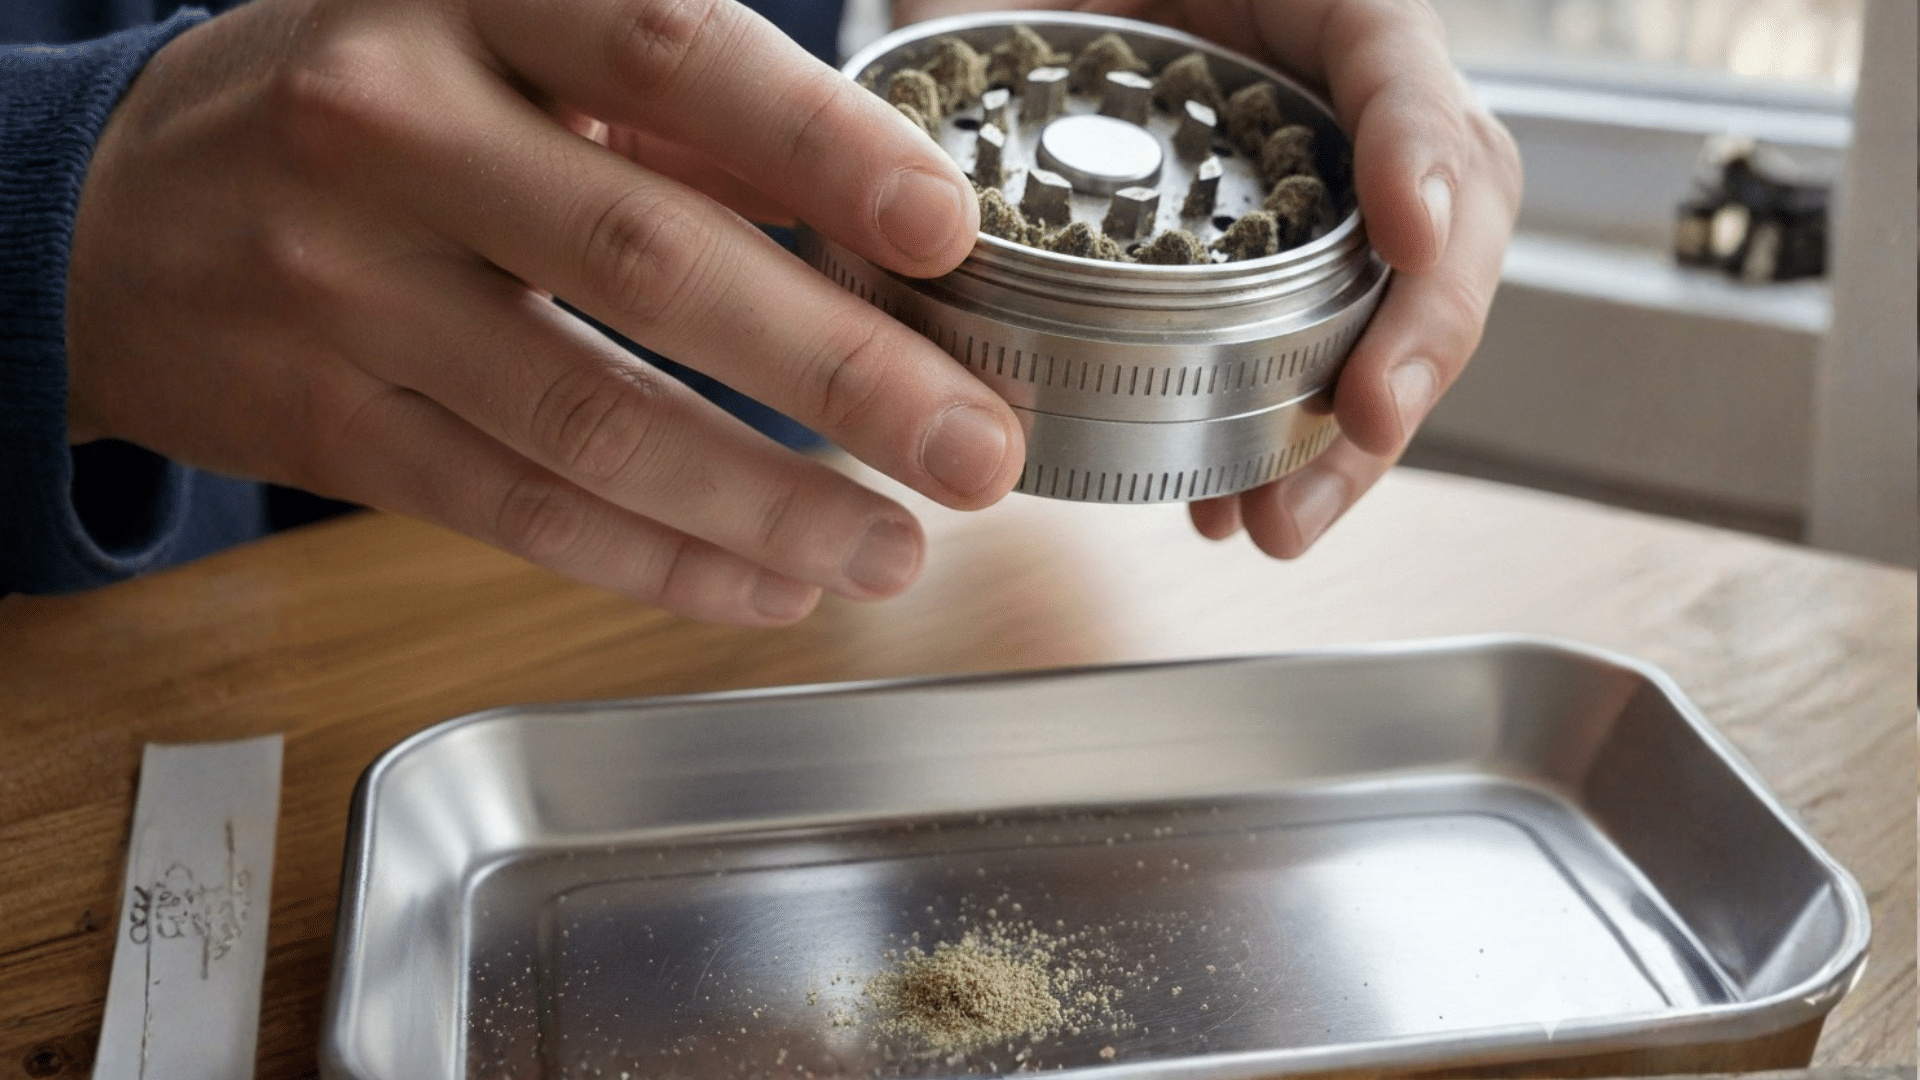
Once the weed reaches the desired consistency, carefully open the grinder and access the collection chamber. Use gentle movements to avoid spilling fine pieces or kief.
If needed, tap the grinder lightly to settle loose flower. Transferring ground weed carefully helps prevent waste and keeps your workspace clean. A small tray or paper underneath can catch any loose bits during this step.
Step 8: Save Kief If Available
If your grinder includes a kief catcher, check it occasionally and collect the fine powder that gathers at the bottom. Kief contains concentrated trichomes and can be saved for later use.
Avoid scraping too aggressively, as this can damage the screen. Storing kief in a small container keeps it fresh and ready to sprinkle into bowls or joints when you want stronger effects.
Common Grinder Mistakes (And How to Avoid Them)
Avoiding these mistakes helps protect your grinder, preserve potency, and ensure a smoother smoking experience every time.
- Overloading: Filling the grinder too much prevents proper movement and leads to uneven grinding.
- Grinding wet or sticky weed: Moist weed sticks to teeth and reduces grind quality; dry slightly first.
- Grinding too long: Over-grinding turns weed into powder, which burns too fast and clogs airflow.
- Ignoring cleaning: Dirty grinders collect resin buildup that affects performance and flavor over time.
Cleaning your grinder every few weeks keeps the teeth sharp and prevents old residue from affecting taste.
How to Grind Weed Without a Grinder
Grinding weed without a grinder is useful when tools are unavailable, helping maintain airflow, burn quality, and consistency using everyday household items.
| Grinder Type | What It Does Best |
|---|---|
| 2-piece | Grinds weed quickly but offers no storage or kief collection. |
| 3-piece | Separates ground weed into a chamber for easier access. |
| 4-piece (kief catcher) | Collects kief while delivering the most consistent grind. |
| Materials | Metal grinders last longer, grind smoother, and resist dulling better than plastic or wood. |
When Grinder-Free Methods Make Sense
Grinder-free methods are practical in situations where convenience, access, or urgency matters more than perfect consistency or long-term efficiency.
- Traveling: When carrying a grinder isn’t practical or allowed.
- Emergency situations: When your grinder is lost, broken, or unavailable.
- First-time use: When you haven’t invested in a grinder yet.
- Small amounts: When grinding a single bowl or a quick session’s worth.
Grinder-Free Methods Ranked by Effectiveness
Check out practical grinder-free methods, ranked by effectiveness, to prepare material efficiently using common tools, simple techniques, and safety tips, helping you choose the best option without specialized equipment at home.
1. Scissors and a Shot Glass
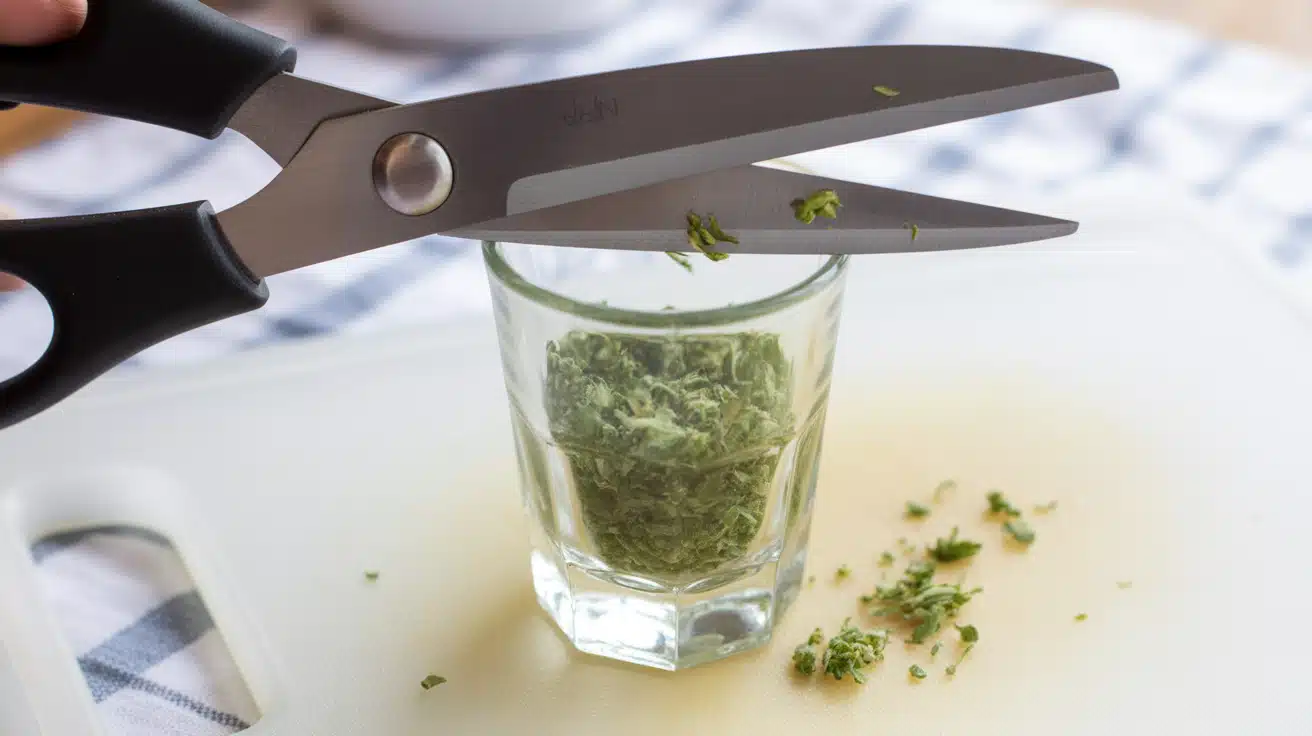
This is the most effective grinder-free method because it offers control and keeps weed contained. Placing weed inside a shot glass prevents pieces from flying around while cutting.
Scissors allow you to control grind size by adjusting how long you snip. This method works well for both dry and slightly sticky weed and produces a medium, even grind suitable for joints and bowls.
It’s also easy to clean afterward and minimizes waste. For small amounts, this method delivers results closest to an actual grinder without requiring special tools.
2. Using Your Hands
Breaking weed by hand is the simplest method and requires no tools. It works best when the flower is dry and crumbly. Gently pulling buds apart helps preserve airflow but often results in uneven pieces.
Sticky weed can cling to fingers, leading to trichome loss. While this method lacks precision, it’s effective in emergencies and allows you to remove stems easily.
Hand-grinding works best for bowls and pipes but may cause uneven burning in joints. Always grind over a clean surface to avoid waste.
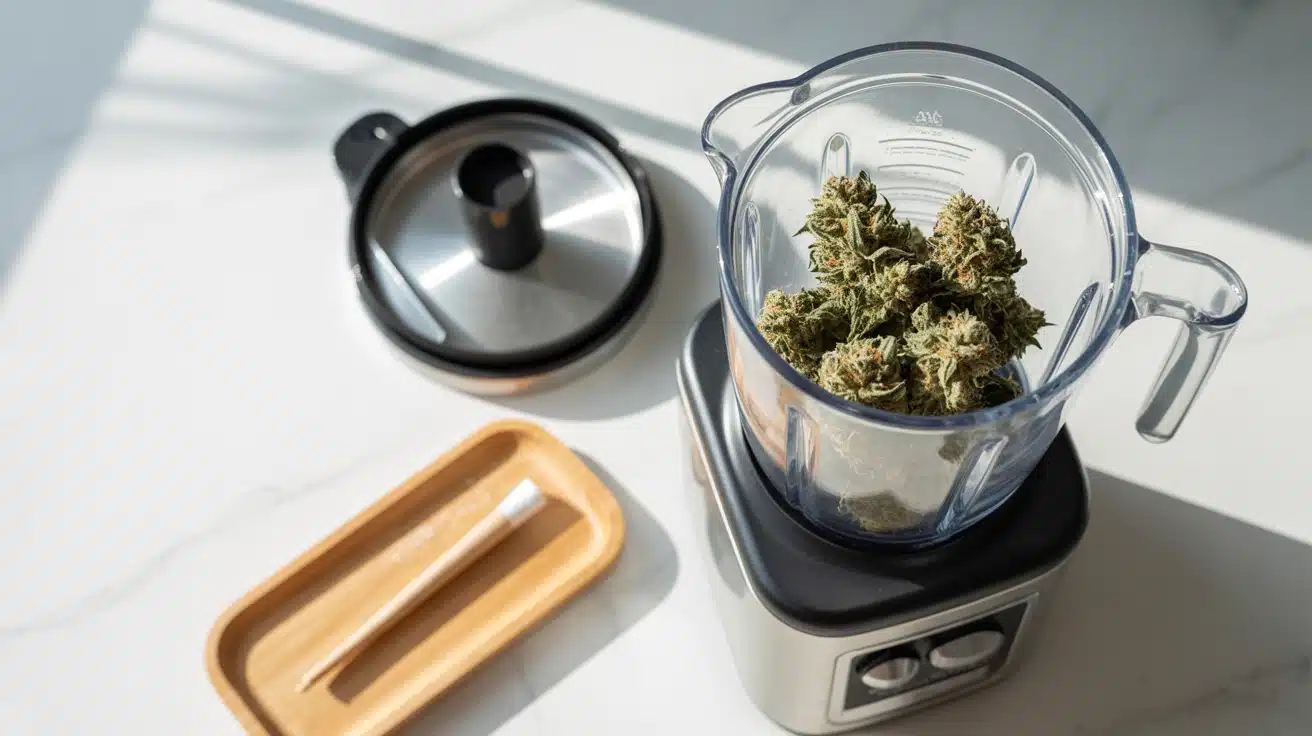
3. Coffee Grinder (Electric)
A coffee grinder can quickly break down large amounts of weed, making it useful for bulk grinding.
However, it must be used carefully. Short pulses prevent over-grinding and heat buildup, which can damage flower quality. This method can easily turn weed into powder if overused.
It works best with dry weed and should be cleaned thoroughly before and after use. Because trichomes often stick to the grinder walls, scraping carefully is important to avoid losing potency. This method is not ideal for small amounts.
4. Cheese Grater or Microplane
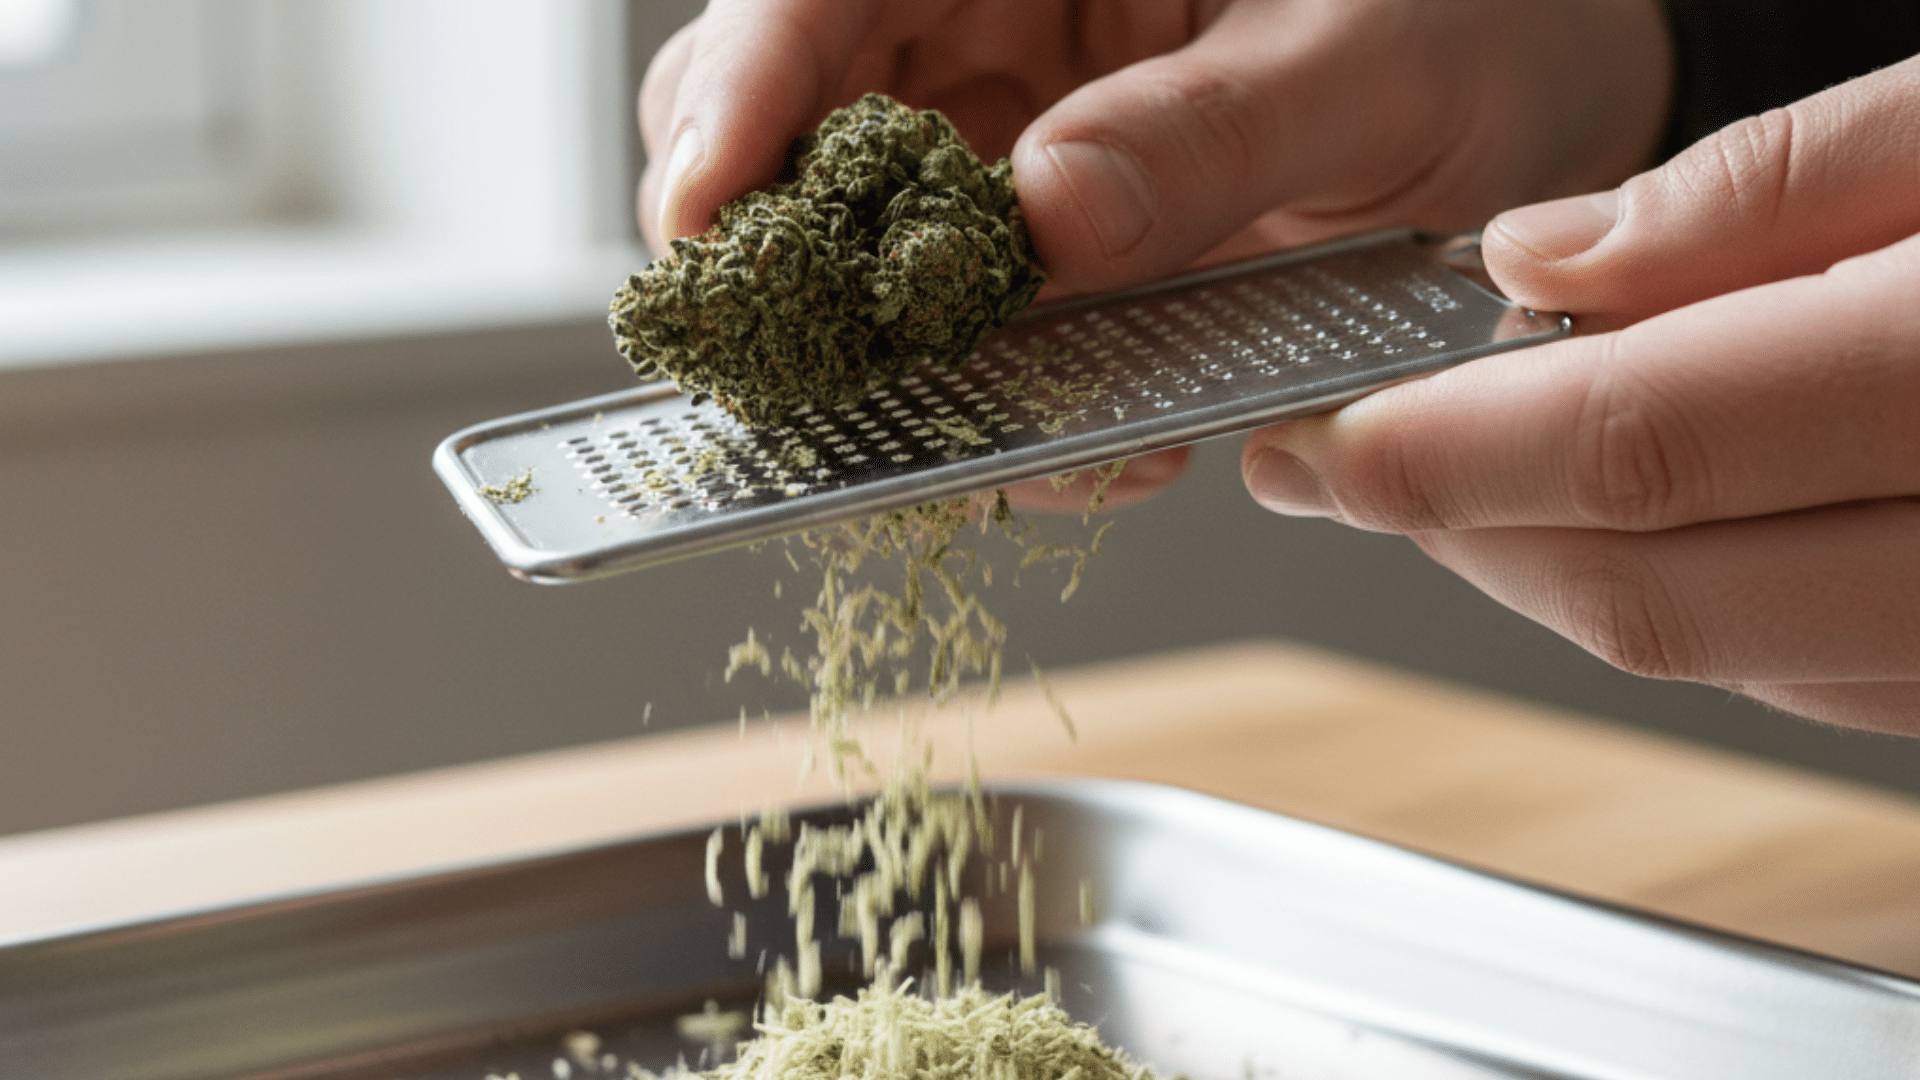
Using a cheese grater or microplane creates a light, fluffy texture that works well for joints. The small holes shred weed evenly, but this method requires caution to avoid finger injuries.
Sticky weed can gum up the grater, making cleanup necessary. Grating works best with firmer buds and should be done over a tray or plate.
While effective, this method can waste kief if not collected properly. Always clean the grater thoroughly before and after use to avoid flavor contamination.
5. Mortar and Pestle

A mortar and pestle allow for controlled grinding when used gently. Pressing and twisting break the weed down evenly without tearing it apart. This method works best with dry flowers and small amounts.
Applying too much pressure can mash the weed, causing resin to stick to the bowl. Mortar and pestle grinding is slower but precise, making it suitable for vaping or cooking preparation.
Cleanliness is important, as residue from spices or herbs can affect flavor if not removed beforehand.
6. Pill Bottle and Coin Trick
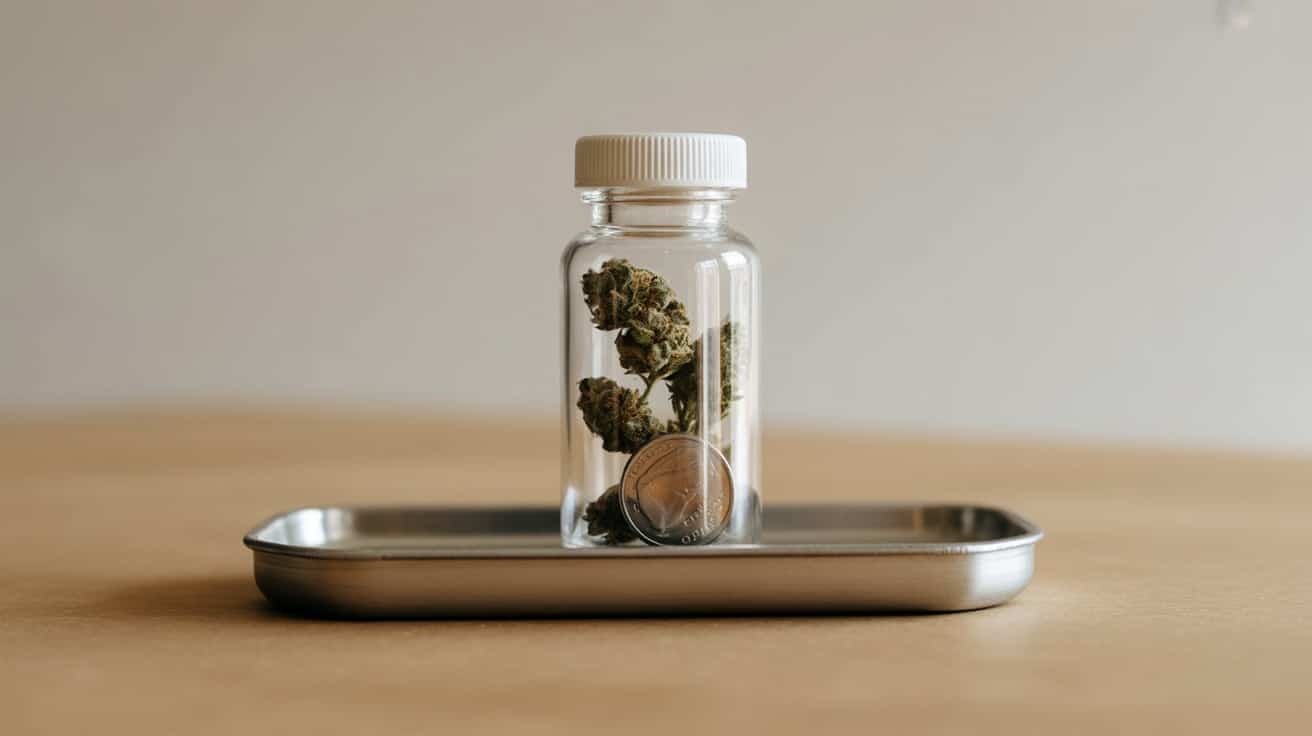
This method uses motion instead of cutting. A clean coin placed inside a sealed pill bottle with weed breaks the flower apart when shaken. It’s effective for small amounts and produces a medium grind.
The coin must be thoroughly cleaned to avoid contamination. Shaking too aggressively can create powder, so short bursts work best. This method is discreet, portable, and low-effort, making it popular in emergency situations.
Weed may stick to the bottle walls, requiring light scraping afterward.
7. Knife and Cutting Board
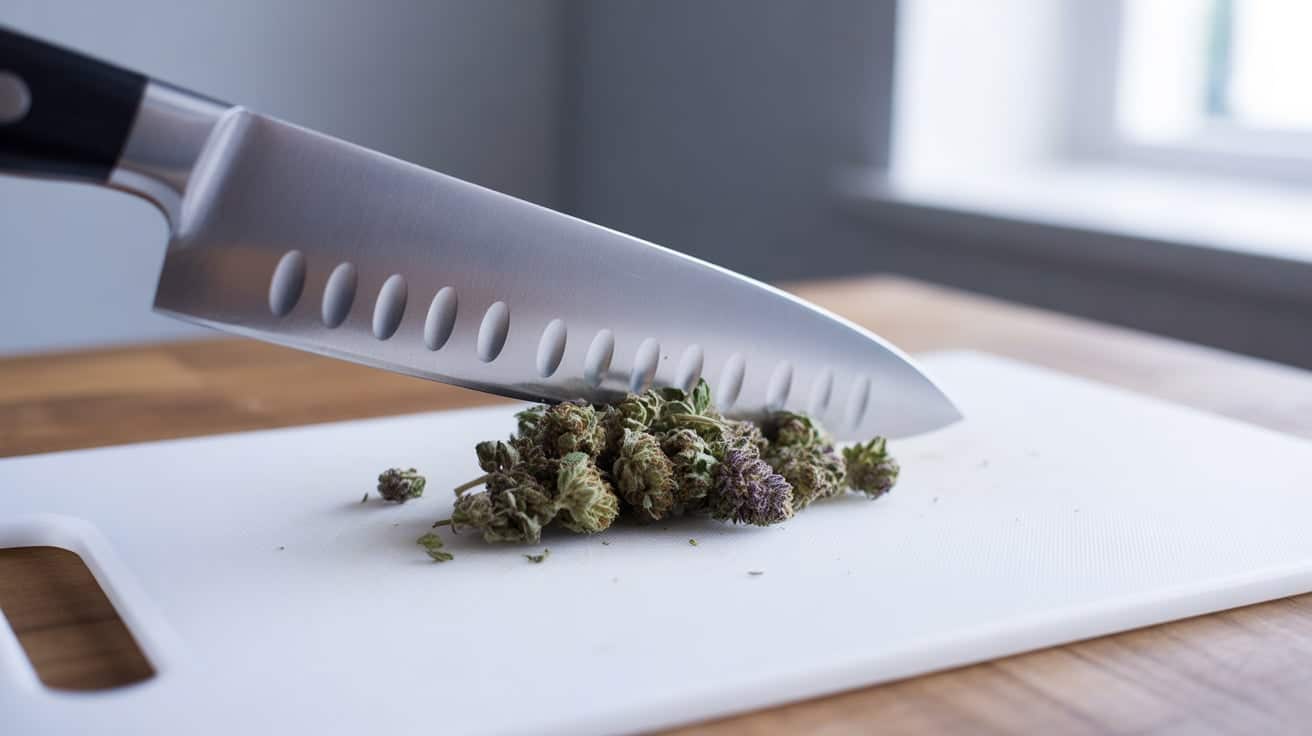
Using a knife mimics chopping herbs in the kitchen. A sharp blade allows controlled cutting, producing an adjustable grind size. This method works well for dry weed, but can become sticky with moist flower.
Resin buildup on the blade requires frequent wiping. Chopping offers precision but takes more time and cleanup than other methods.
Always use a clean board and avoid porous surfaces. This technique works well for bowls and pipes, but may result in uneven burning if rushed.
8. Credit Card and Flat Surface
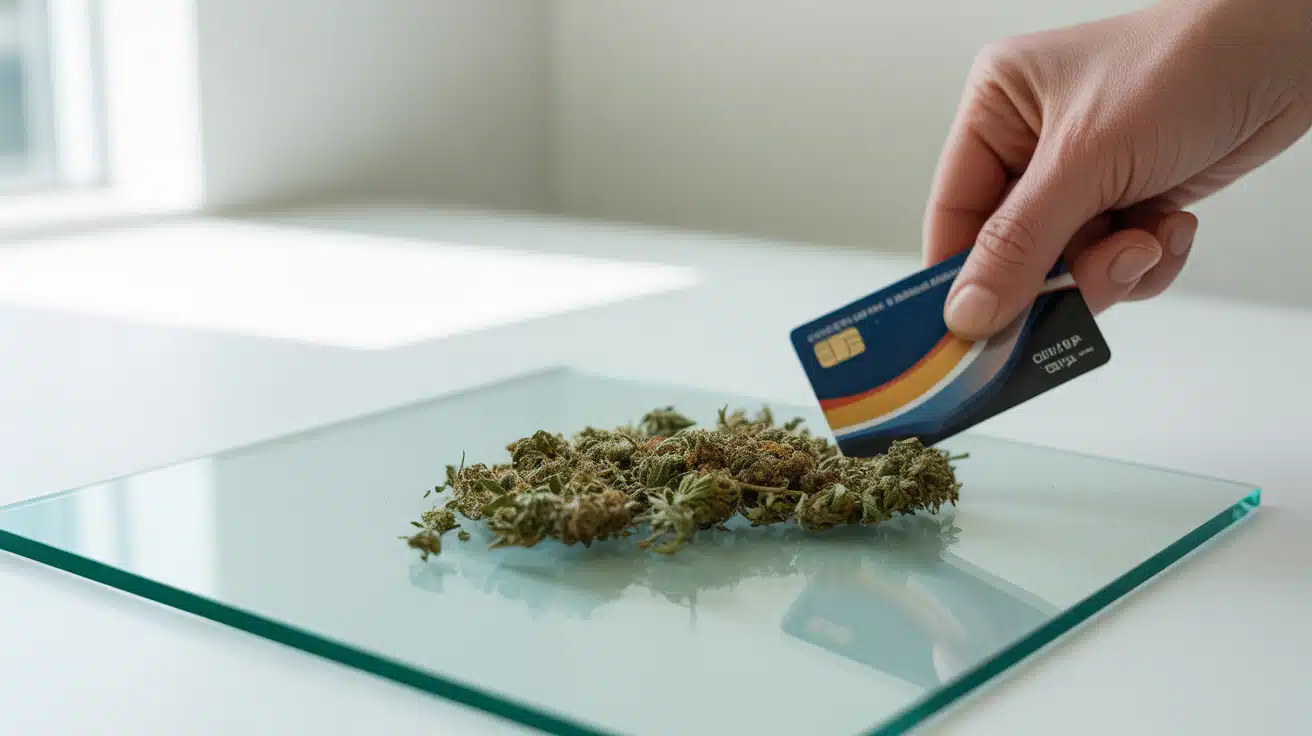
This method is best used as a last resort. A card can crush and scrape weed against a hard surface, breaking it into smaller pieces. It lacks precision and often produces uneven chunks. Sticky weed can smear rather than break apart.
While convenient in emergencies, this method wastes more trichomes and provides inconsistent results. It’s usable for bowls but not ideal for joints or blunts. Clean the card and surface before use to avoid contamination.
9. Rolling Pin or Bottle
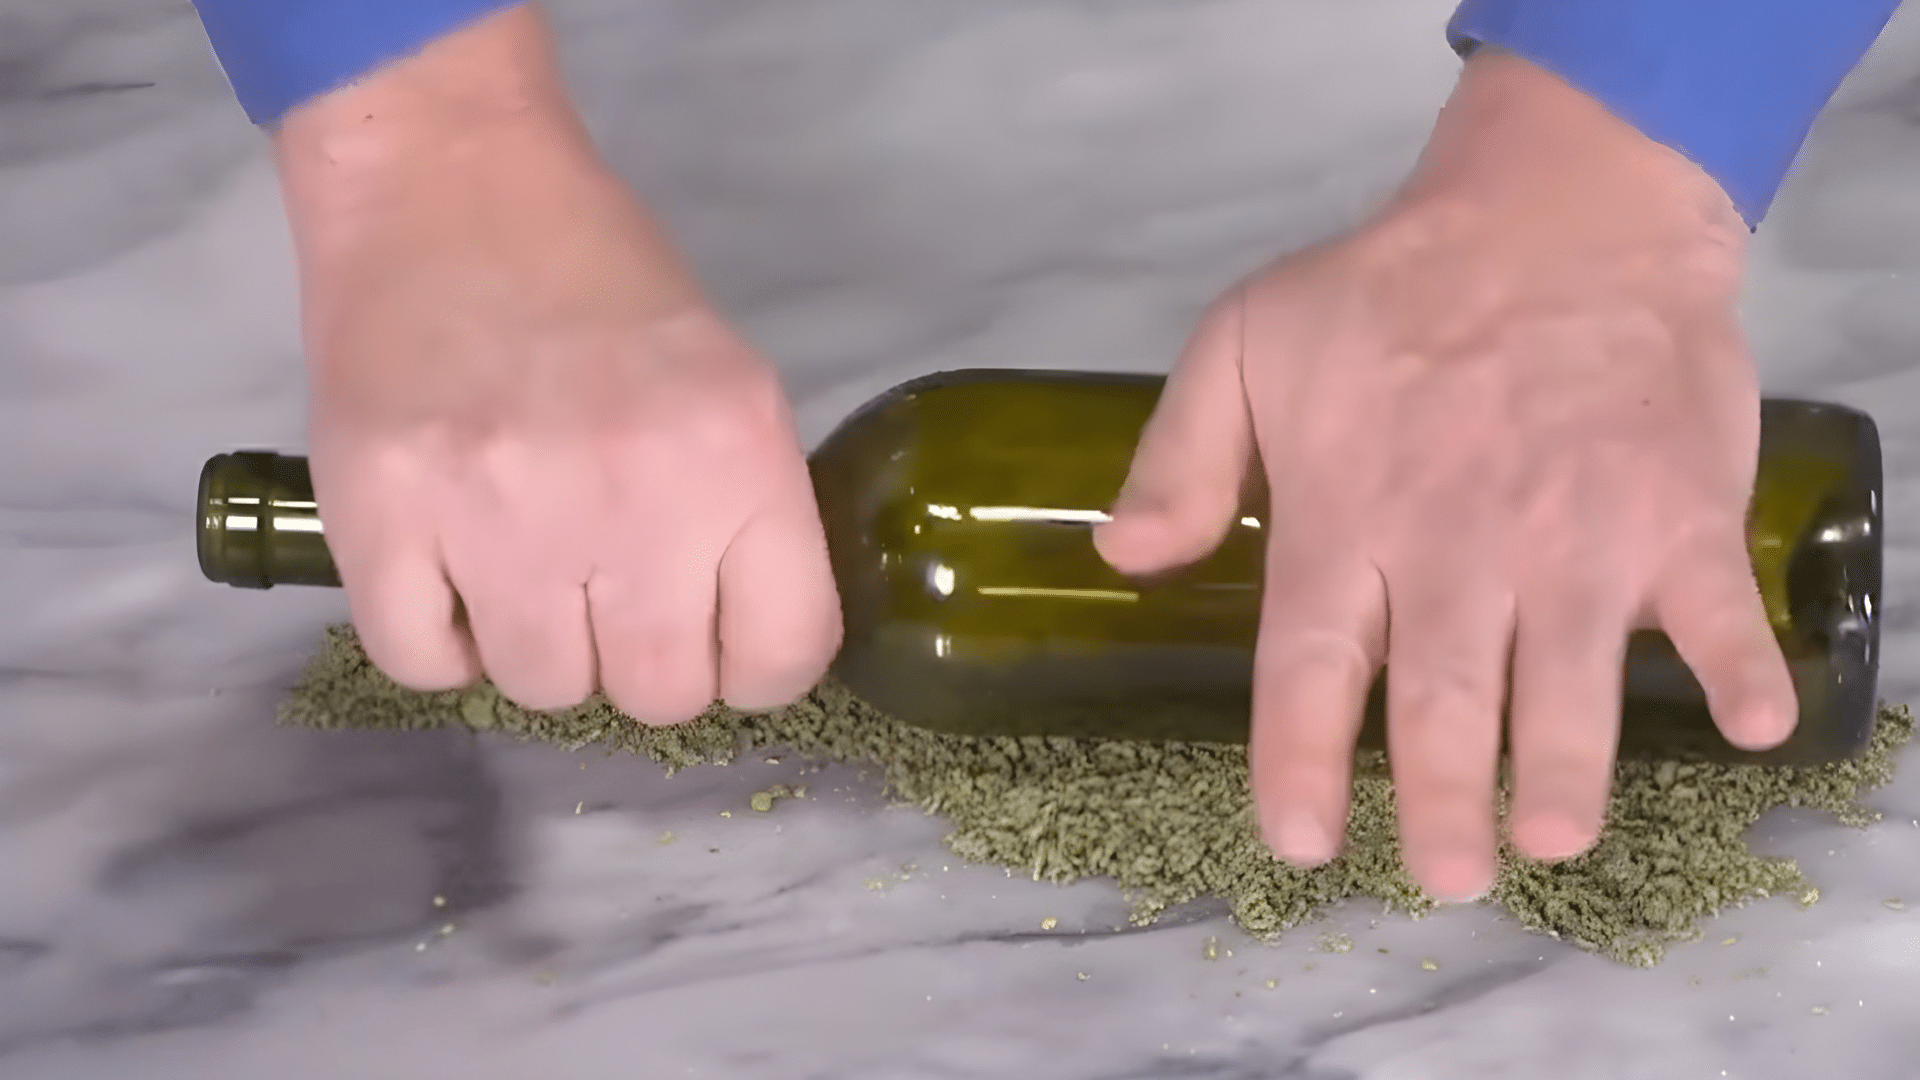
Rolling weed inside a bag or between paper with a rolling pin or bottle crushes buds evenly. This method works best for larger quantities and dry weed. Crushing rather than cutting can flatten the flower instead of shredding it, affecting airflow.
Multiple passes help improve consistency. This approach is useful when preparing weeds quickly without sharp tools. Containment is essential to prevent mess and trichome loss during rolling.
10. Blender (Last Resort)
A blender should only be used when no other options exist. It works best for dry weed and larger batches. Short pulses are critical to prevent turning weed into powder or heating it.
Much of the kief may stick to the sides and blades, requiring scraping. This method risks waste and inconsistency, but can work in emergencies. Thorough cleaning afterward is necessary to avoid lingering odors or residue.
Which Grinding Method Should You Use? (Decision Guide)
Choosing the right grinding method depends on your tools, weed texture, and how you plan to smoke or use it.
| Your Situation | Best Grinding Method |
|---|---|
| Rolling joints | Grinder or scissors with a shot glass |
| Smoking bowls | Grinder or hand breaking |
| Sticky weed | Scissors and a shot glass |
| Dry weed | Hands or grinder |
| No tools available | Hands or a credit card |
| Large amount | Coffee grinder (pulsed carefully) |
| Traveling | Scissors and a shot glass or a pill bottle trick |
| Cooking edibles | Grinder or coffee grinder |
This guide helps you pick a method that matches your situation, reduces waste, and gives more consistent results every time.
How Much Weed Should You Grind at Once?
Grinding the right amount of weed helps preserve freshness and prevents waste.
For one bowl, grind just enough to lightly fill the bowl without packing it tightly, allowing proper airflow.
For one joint, grind enough weed to roll smoothly without leftovers, usually a small pinch that feels fluffy, not compressed.
For one session, it’s best to grind only what you plan to use within a short time, especially if you value flavor and smooth hits.
Grinding too much weed at once exposes it to air, which dries it out and causes trichomes to break down faster. This can reduce aroma, affect burn quality, and make the weed feel harsher over time.
Freshness, Storage, and Timing After Grinding
Ground weed loses quality faster than whole buds, so timing and storage choices matter if you want better flavor, potency, and burn consistency.
- Should you grind ahead of time? Grinding ahead of time is fine for short periods, but fresh grinding always preserves aroma and smoother hits.
- How long ground weed stays fresh: Ground weed stays fresh for a few hours to one day when stored properly before drying and losing flavor.
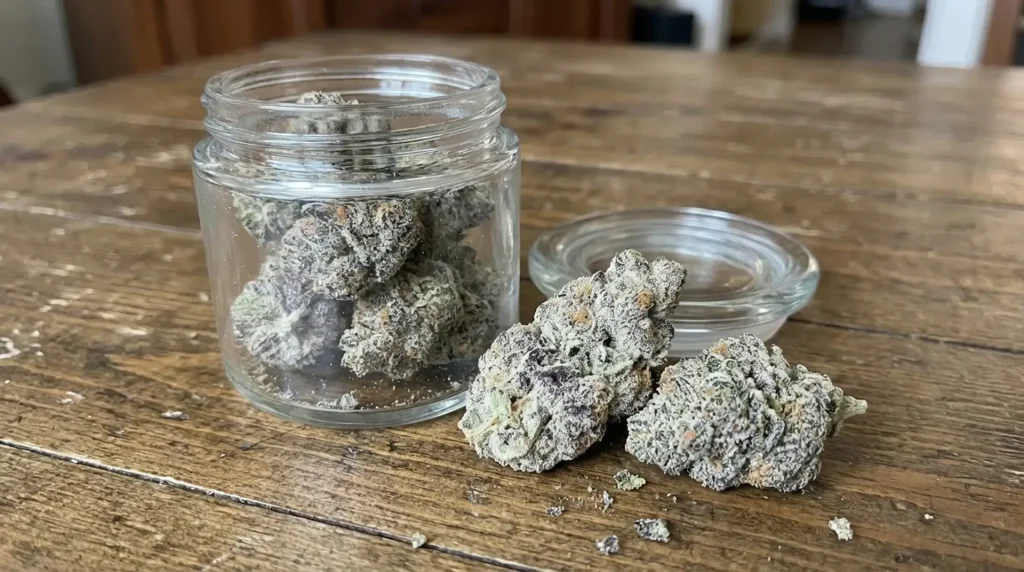
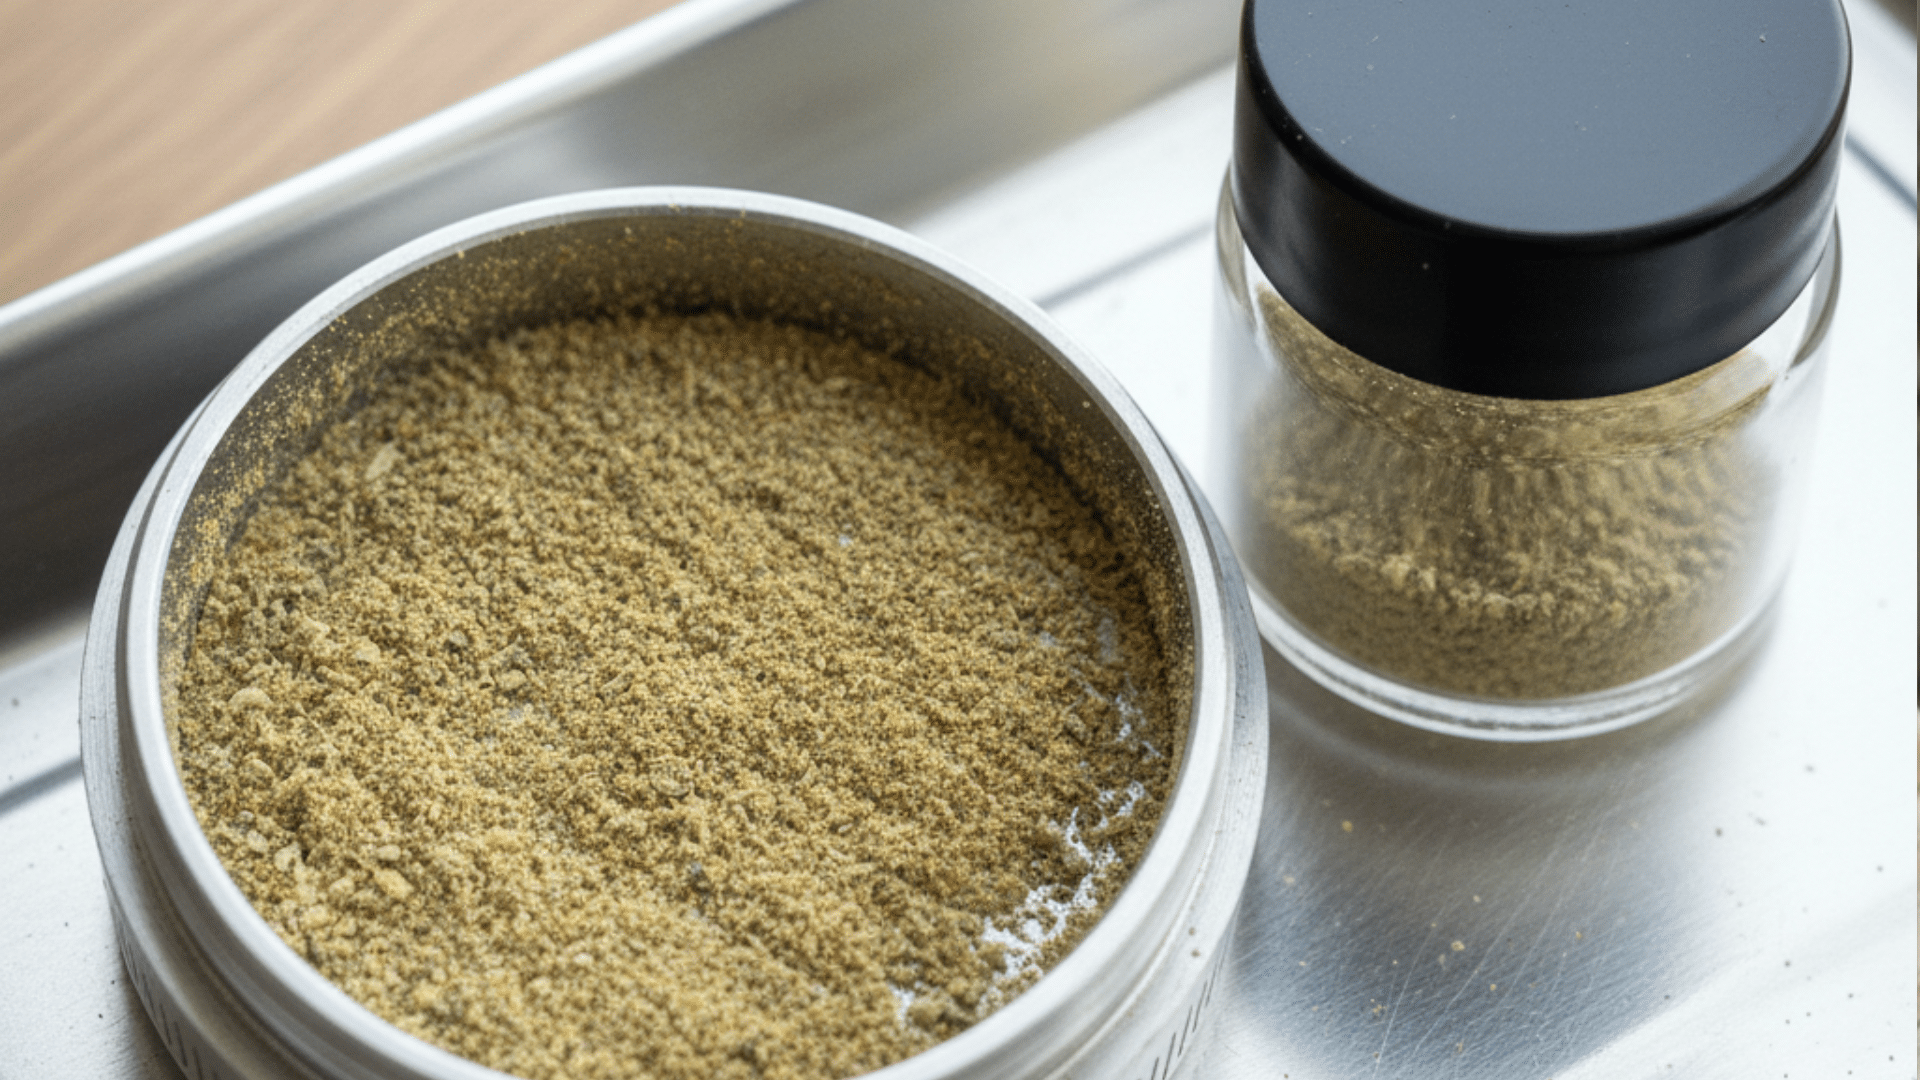
- Best storage containers: Airtight glass containers keep ground weed fresher than plastic by limiting air exposure and preserving aroma.
- When pre-grinding makes sense: Pre-grinding works when traveling, preparing sessions ahead, or rolling multiple joints at once for convenience.
Conclusion
Grinding weed isn’t about doing it one perfect way. It’s about getting even pieces, good airflow, and less waste each time you smoke or vape.
I covered why grind size matters, how to use a grinder properly, and what to do when you don’t have one.
You also saw which methods work best for joints, bowls, sticky weed, and small sessions. My biggest tip is simple. Grind only what you need and match the method to your situation.
Once you understand how to grind weed, the whole process feels easier and more reliable. If this helped, try a few methods yourself and check out my other blogs for more practical smoking tips.